

Create a new email
- Navigate to Emails on the left panel.
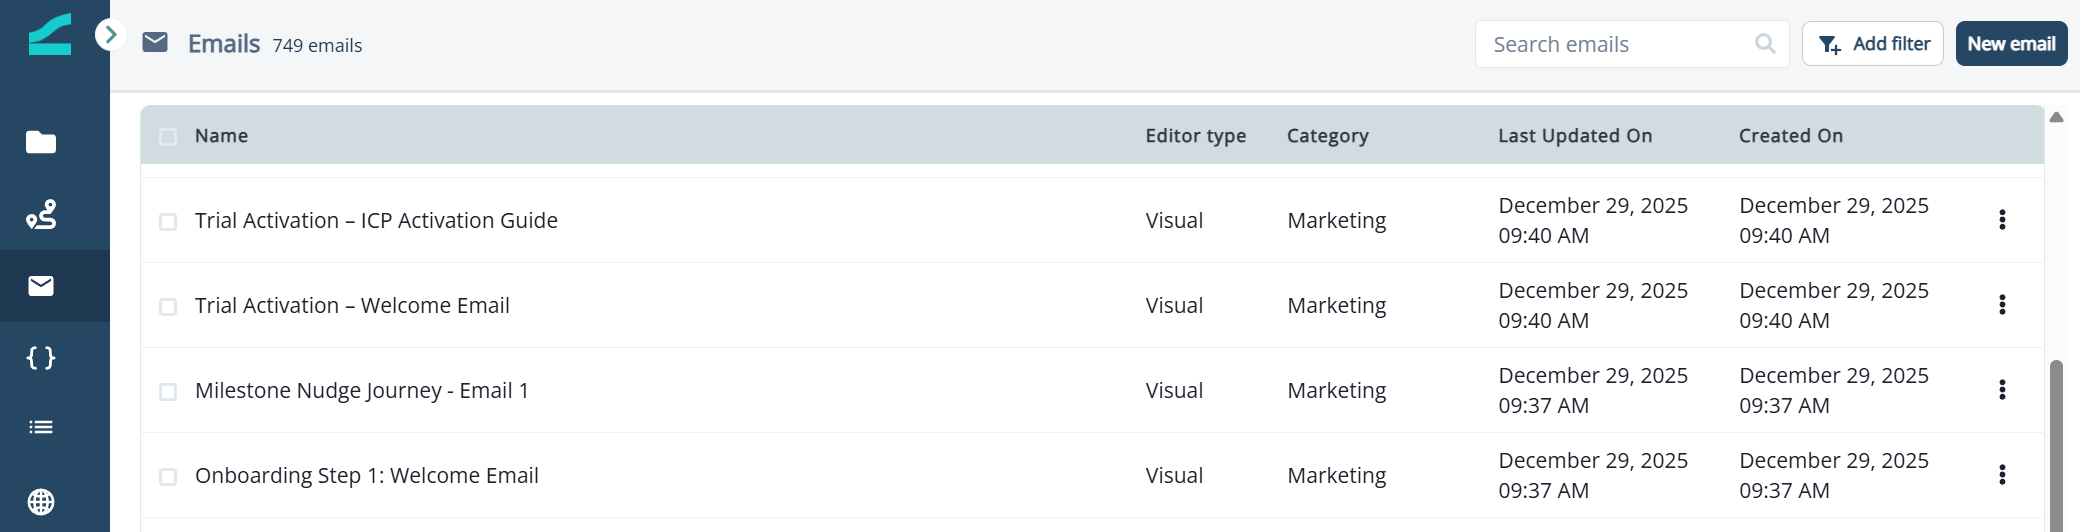
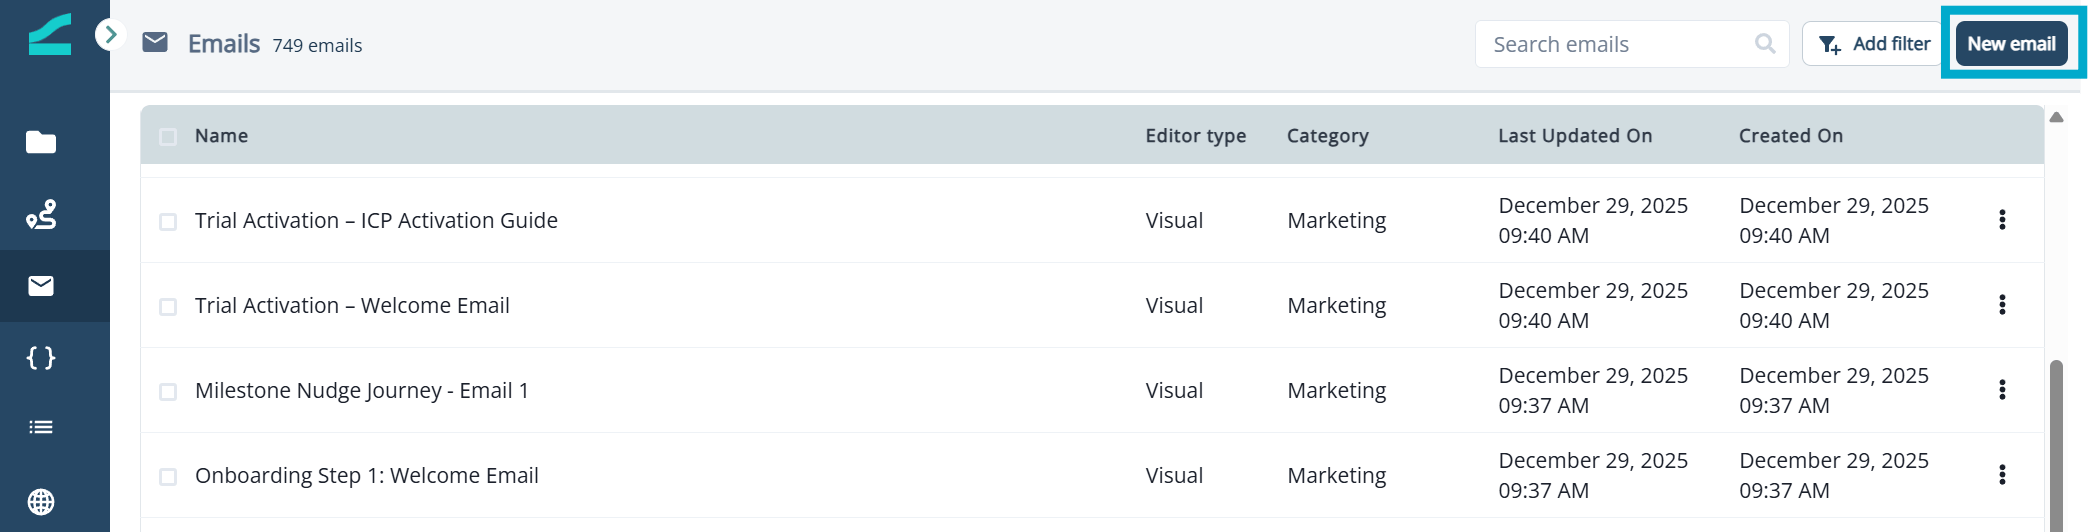
- Click New email.
- Name the email, select the appropriate editor, and categorize the email (Marketing or Transactional).
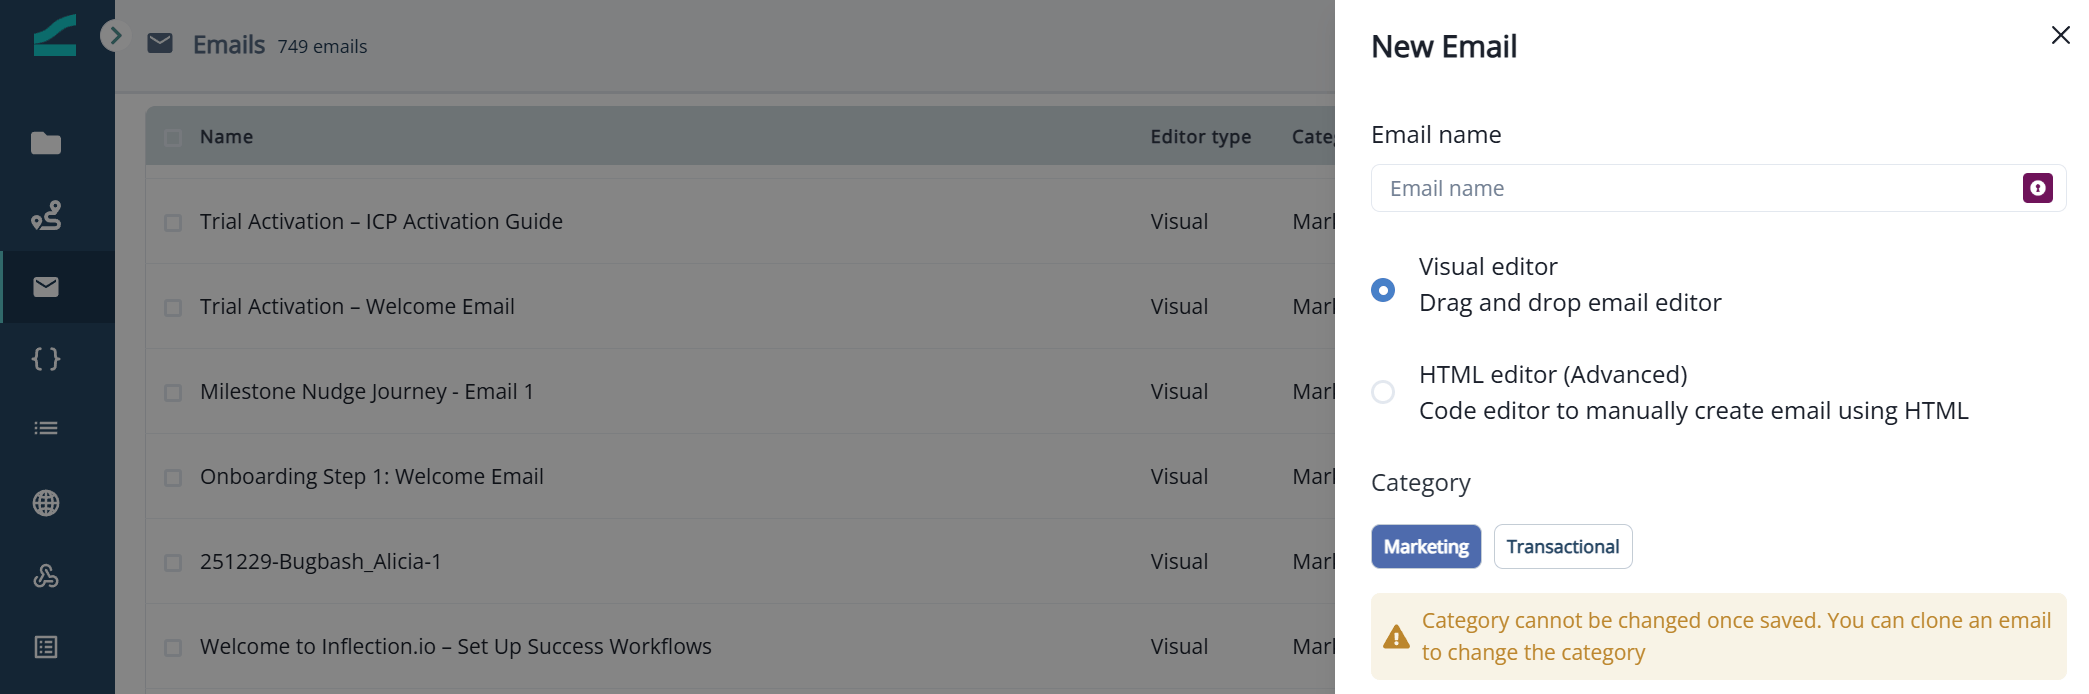
Note that email category cannot be updated once the email is created.
Read more about transactional emails: Transactional Emails
- Choose to create an email from scratch (Start from scratch) or select an existing template.
Asset Settings
Email Settings
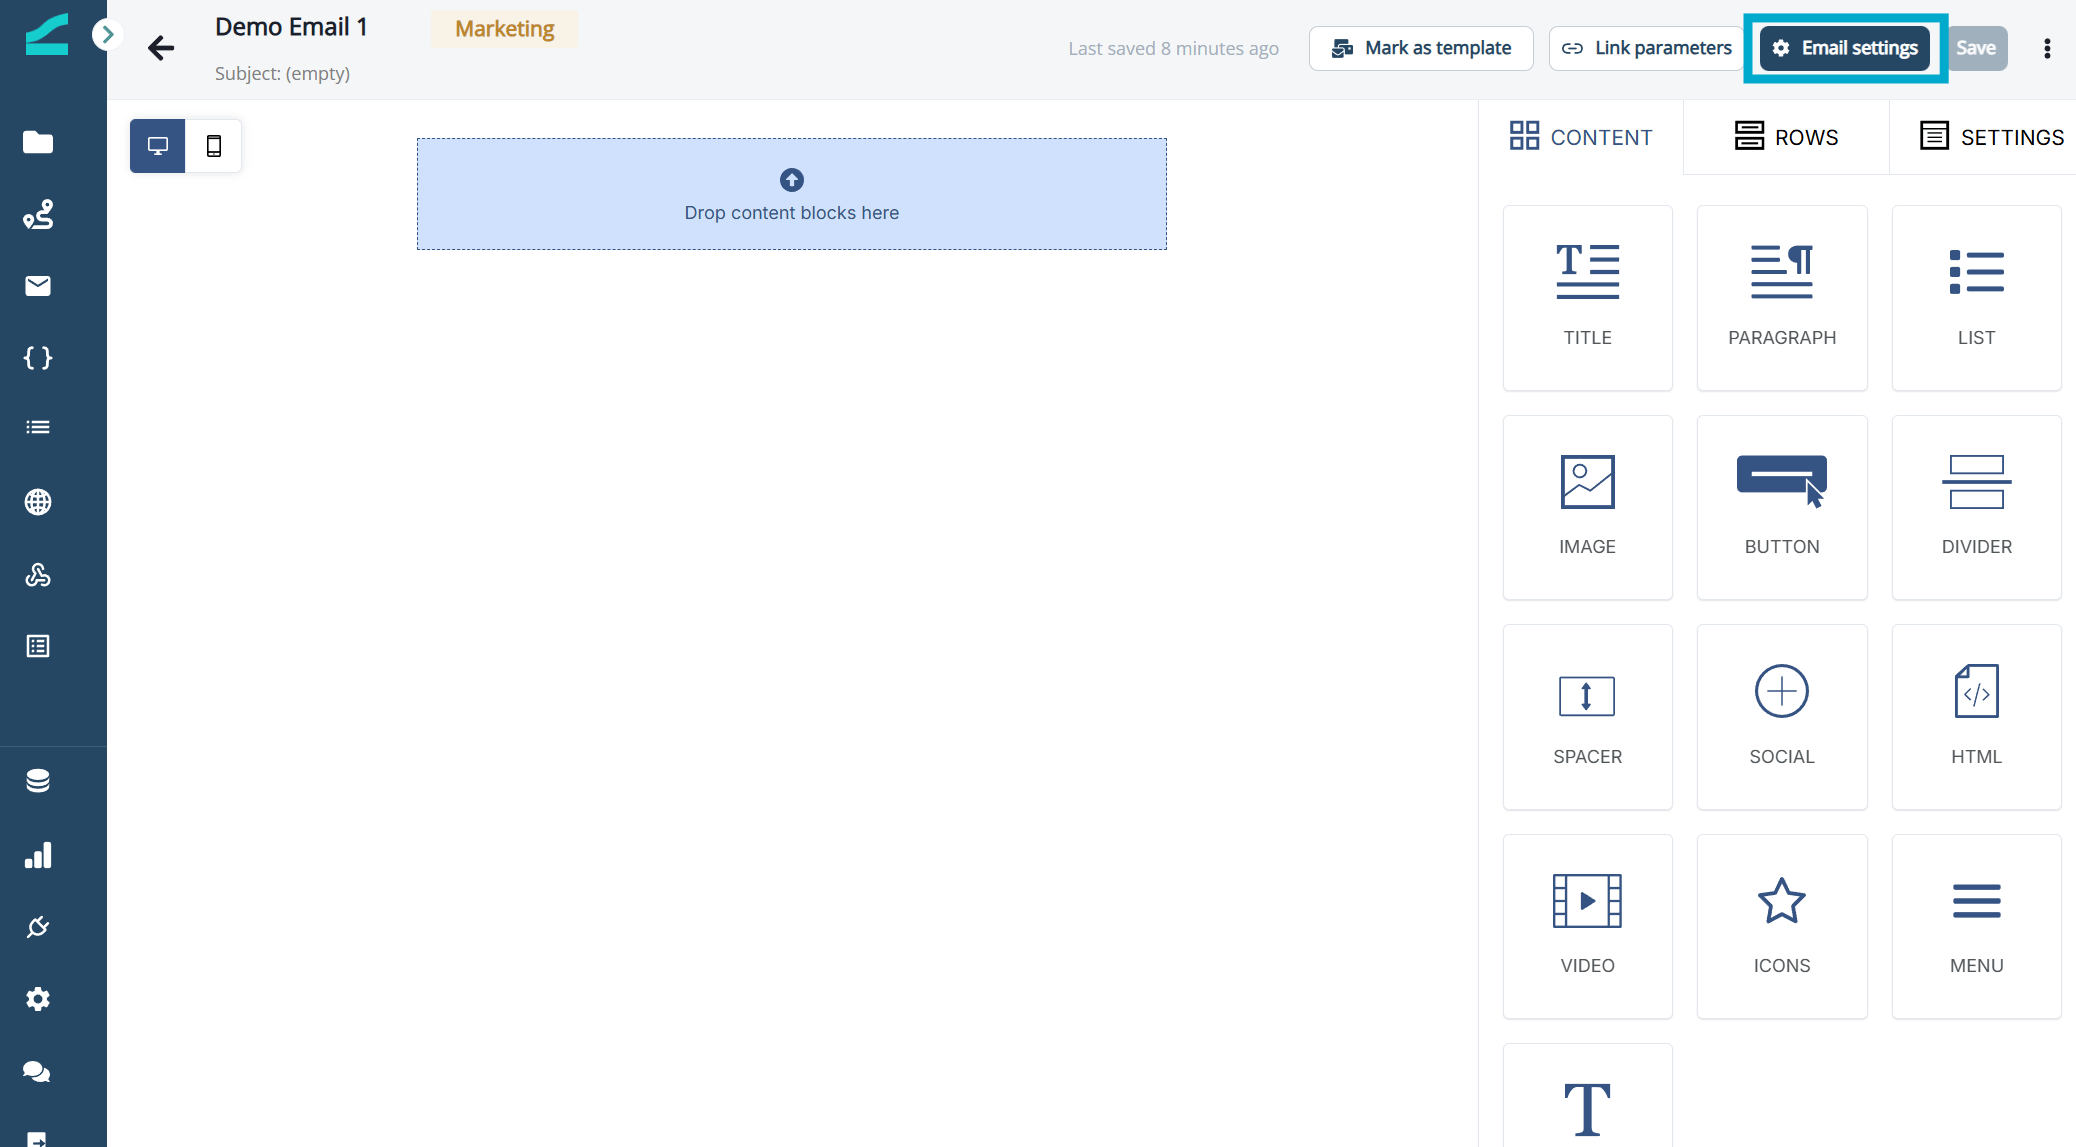
When an email is created, Email settings will slide out on the right.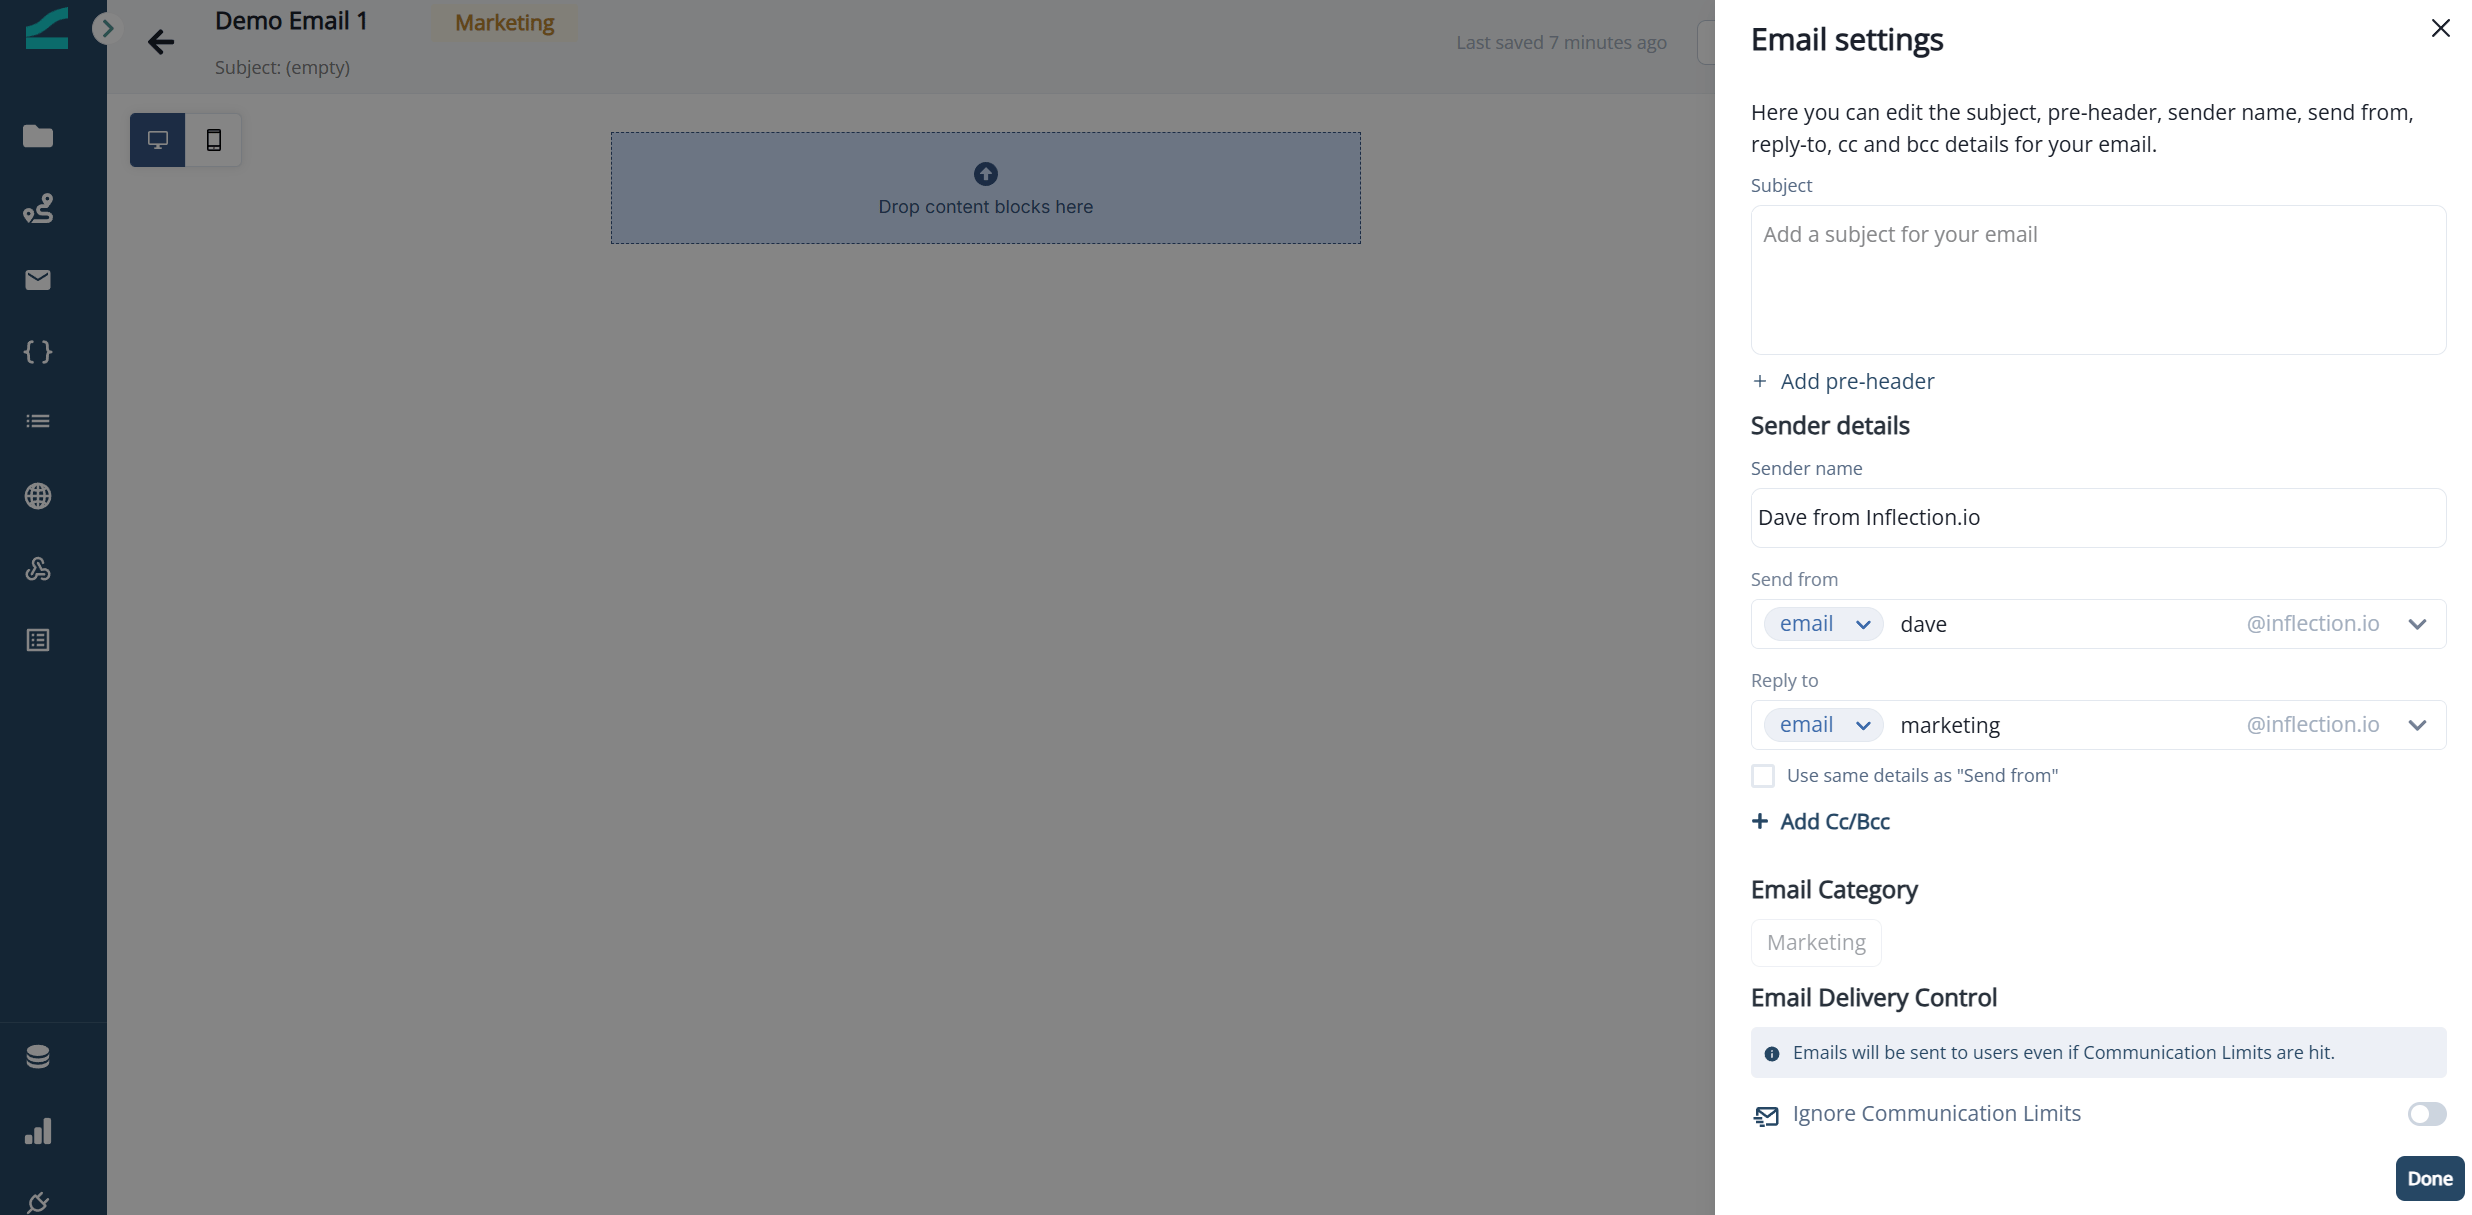
- Add/edit subject line, sender name
- Add/edit pre-header
- Update sender details like name, email, and reply to email
- Add/edit Cc and Bcc contacts
- See the email category (marketing or transactional)
- Select to ignore communications limits
Note that sender name, send from and reply to will be pre-populated with information from Email Settings.
UTM Parameters
Select UTM parameters in the top navigation of your email asset to view and/or update UTM parameters.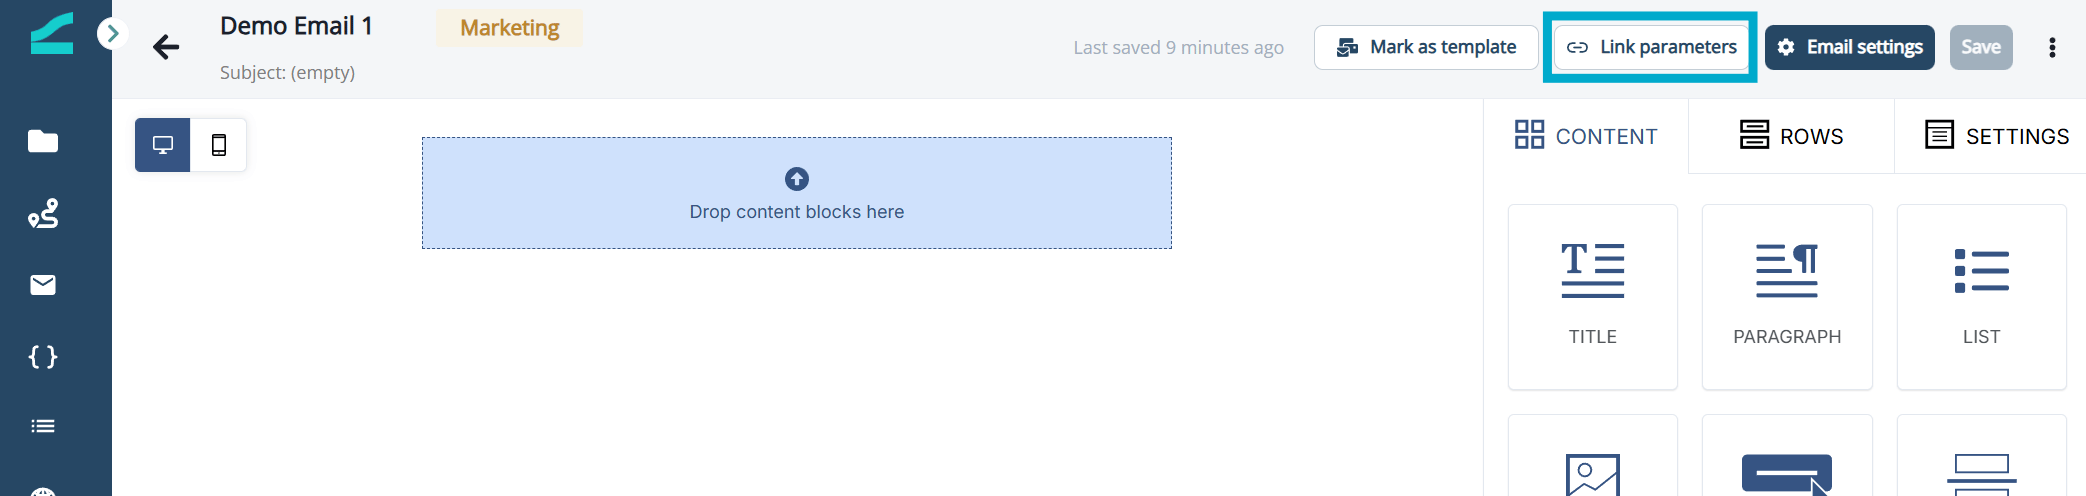
Note that UTM parameters will be pre-populated with default information configured in Global UTM Parameters within Admin Settings. Talk to your instance administrator to update global settings.
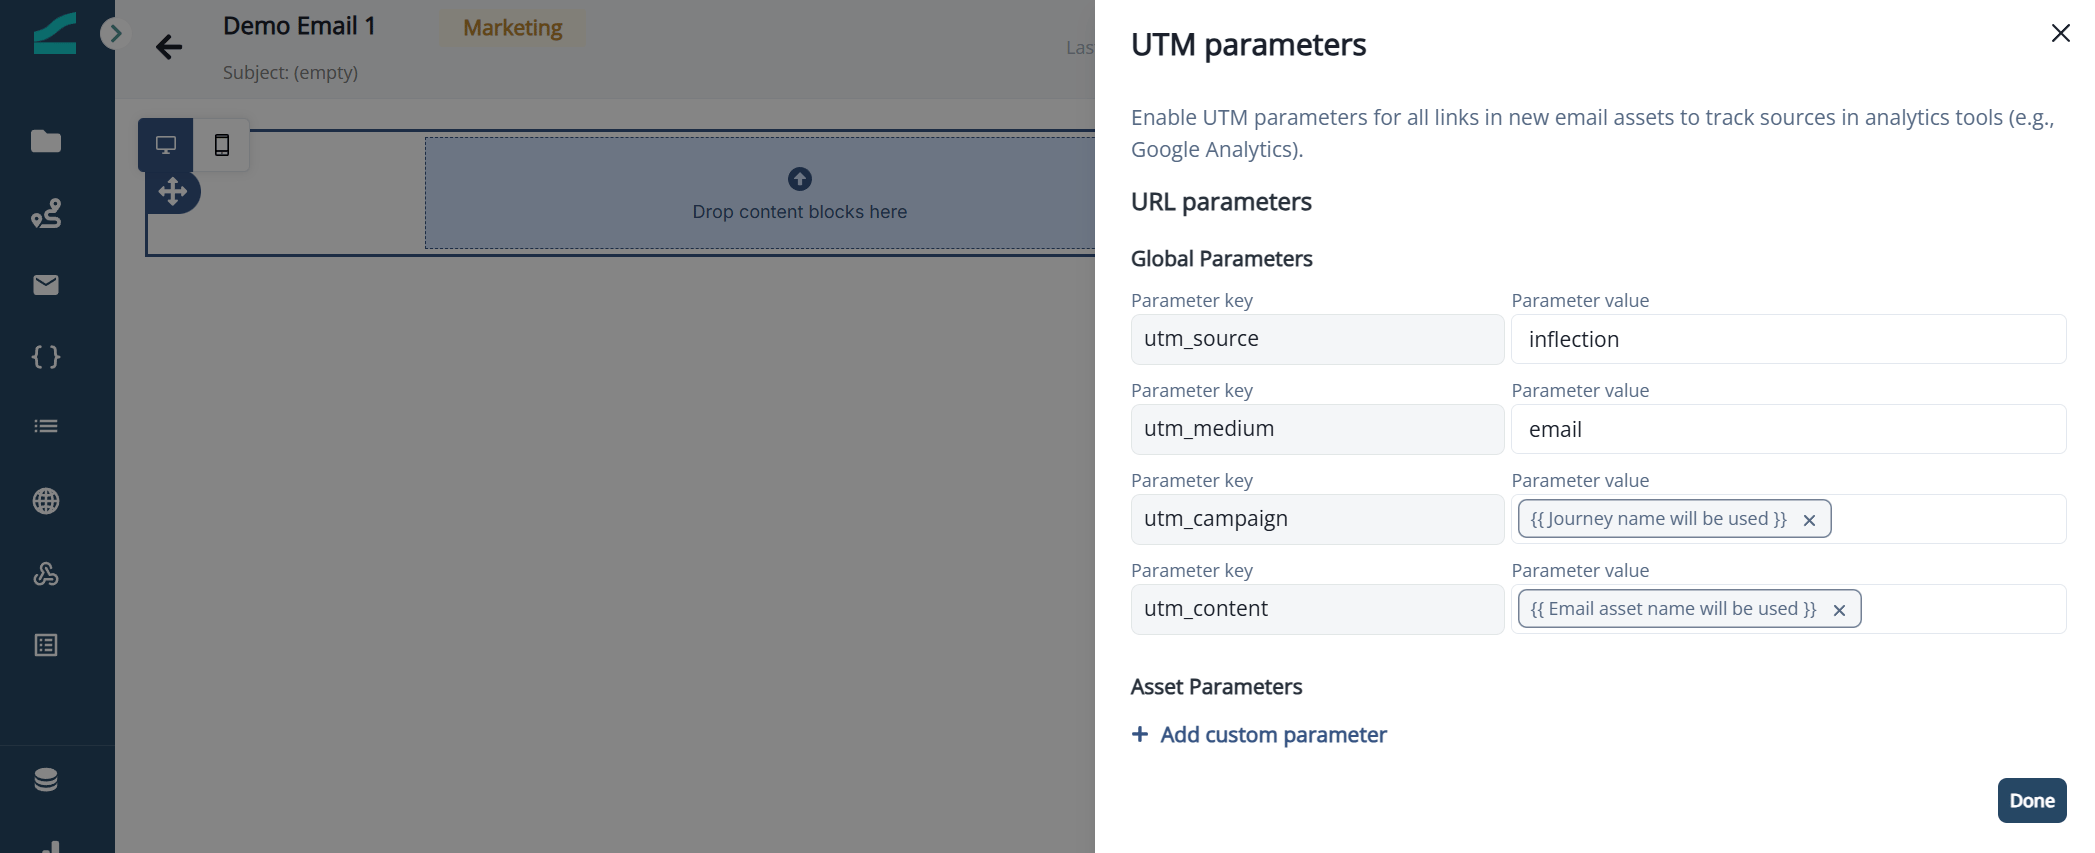
- Overwrite global default parameters
- Add/edit custom parameters
Mark as template
To make the email asset available as a template (for others to use as a starting point in their email builds), select Mark as template. The template will retain all current content and email settings.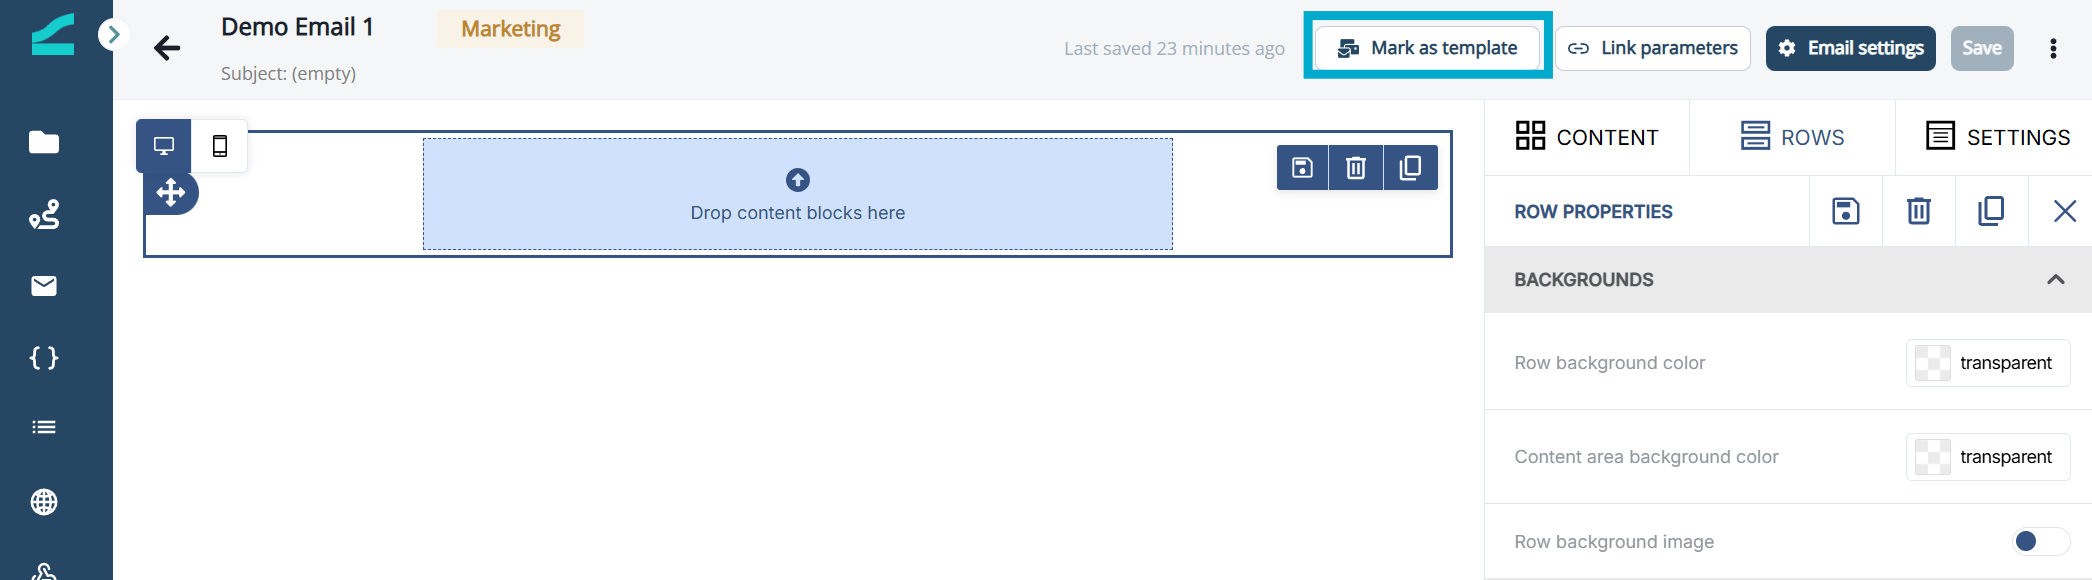
Template will be shown next to the email name in the Emails list.
Templates are just regular emails that happen to be reusable. You can:
- Open the template from the Emails list.
- Modify its content or settings.
- These changes will update the template and affect any future emails created from it.
- Editing a template will not affect any emails already created from the template.
Template Tips & Best Practices
- Name templates clearly so they’re easily discoverable (e.g., “Promo Template – Summer 2025”).
- Use templates for:
- Recurring campaign formats
- Product updates
- Onboarding flows
Build with Visual Editor
Preview, Export, and Test
Preview
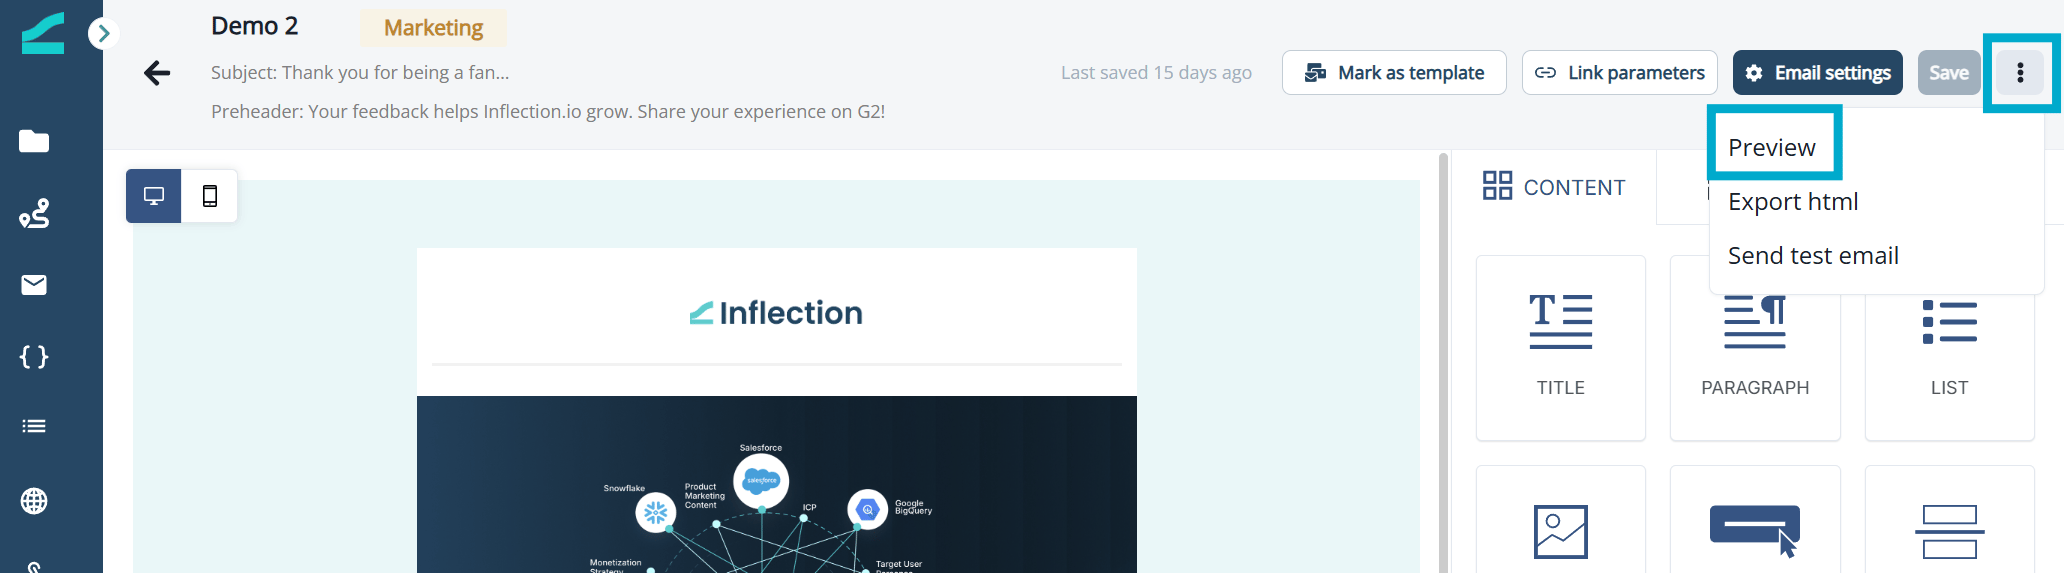
Preview email designs on desktop and mobile devices:- Click the ellipsis icon on the top right of the page.
- Select Preview from the drop down.
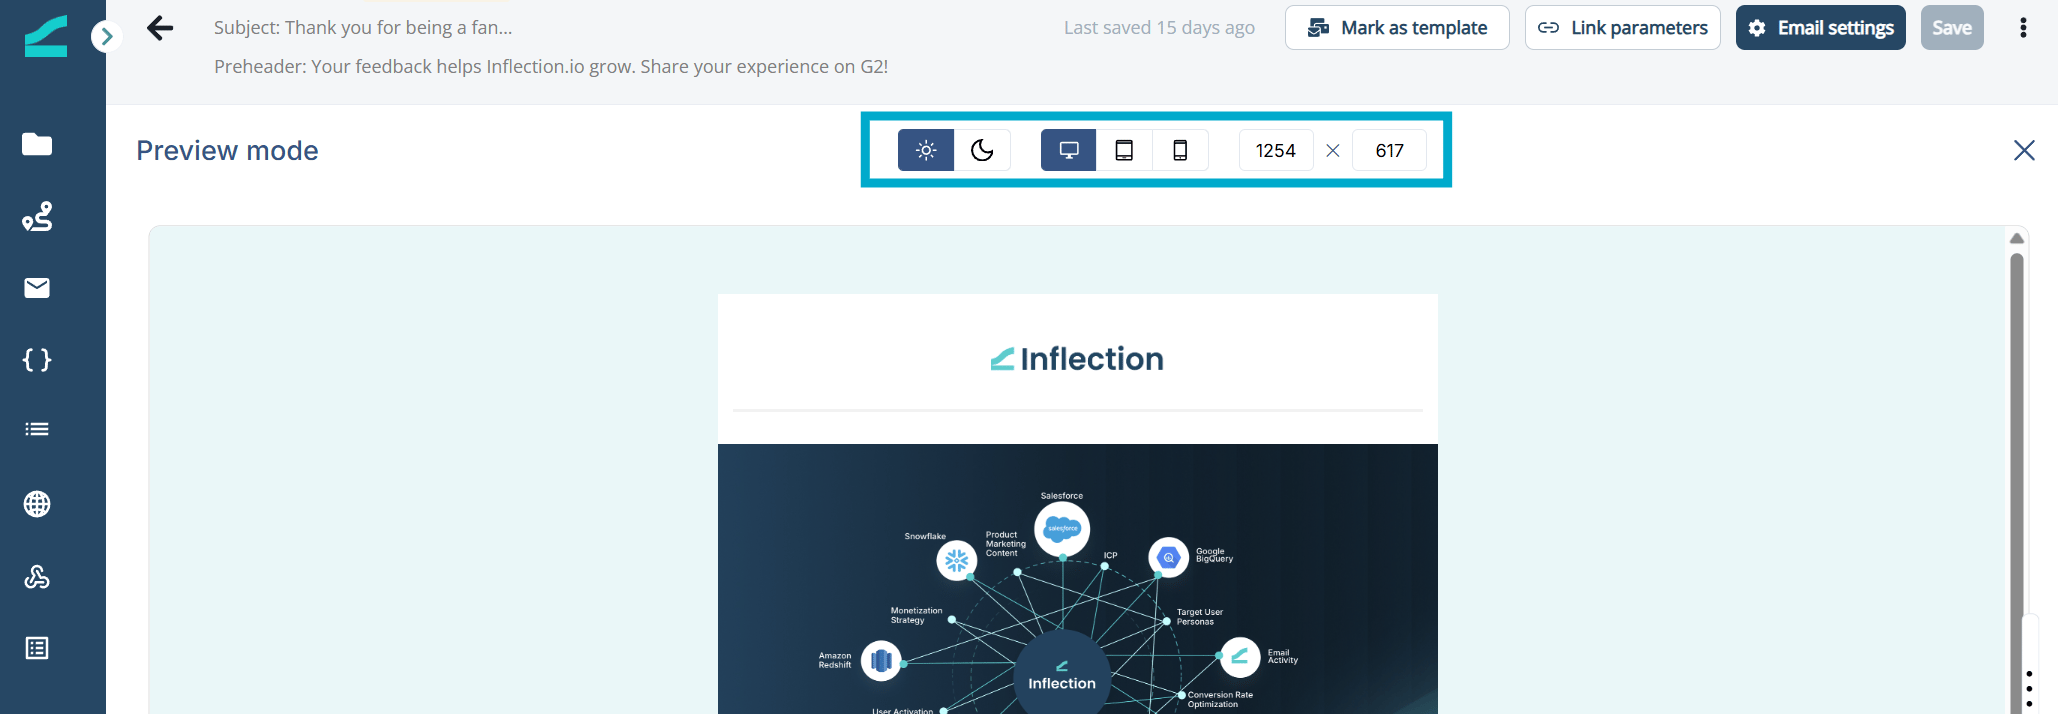
- Update the menu options to preview the email:
- In light and dark mode
- On a desktop, tablet and mobile
- In custom dimensions
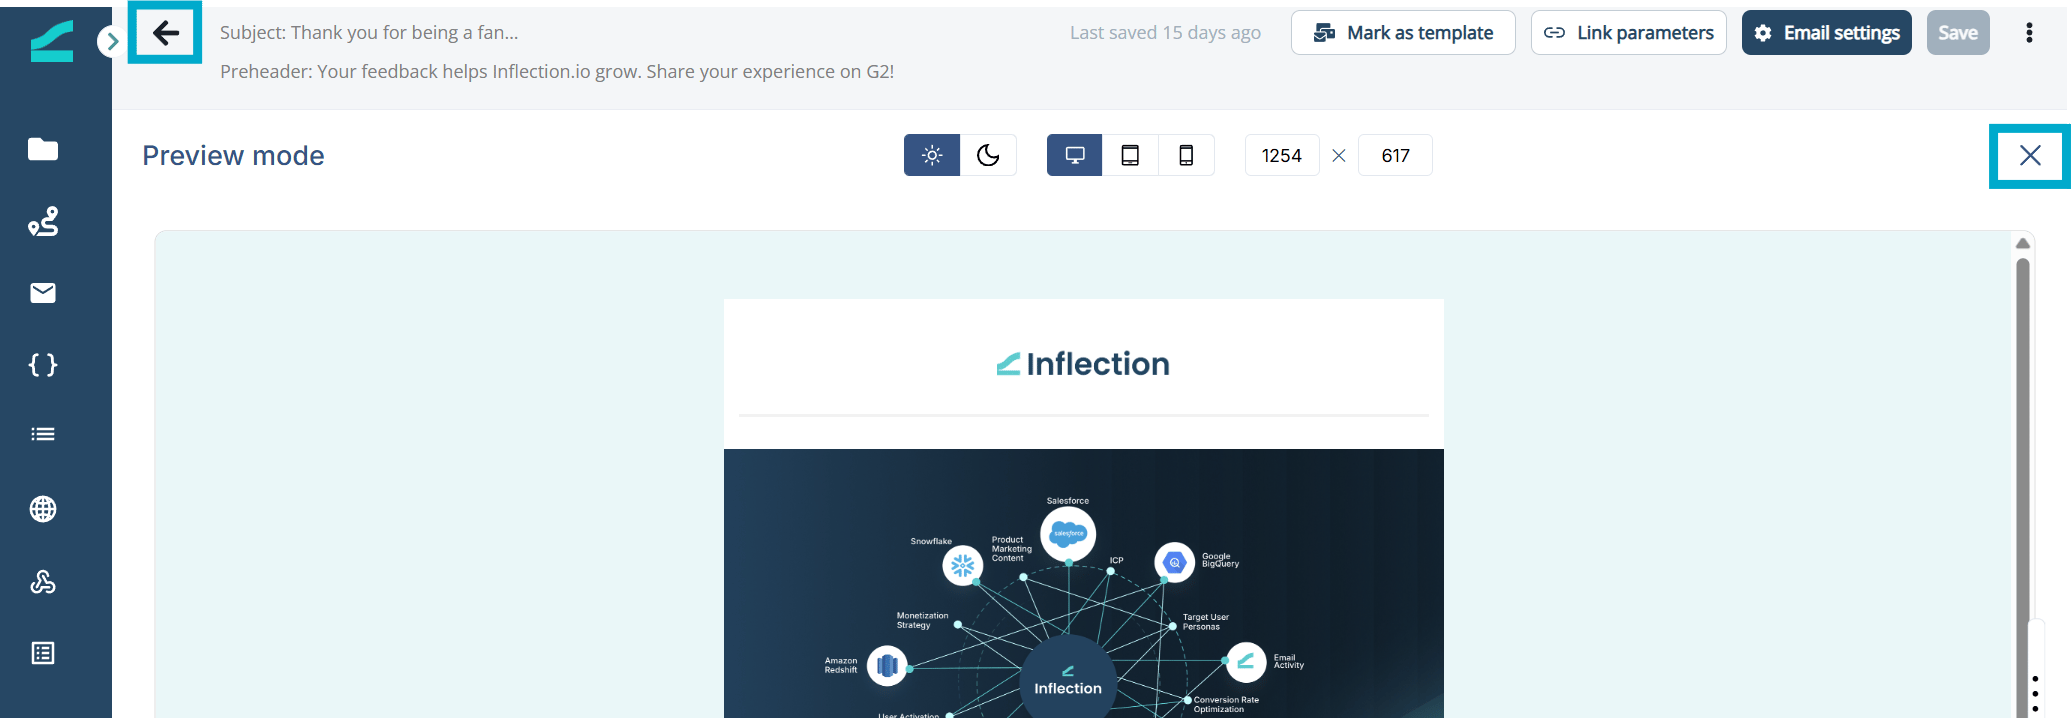
- Click the back arrow (top left) or exit icon (top right) to exit preview mode.
Export as HTML
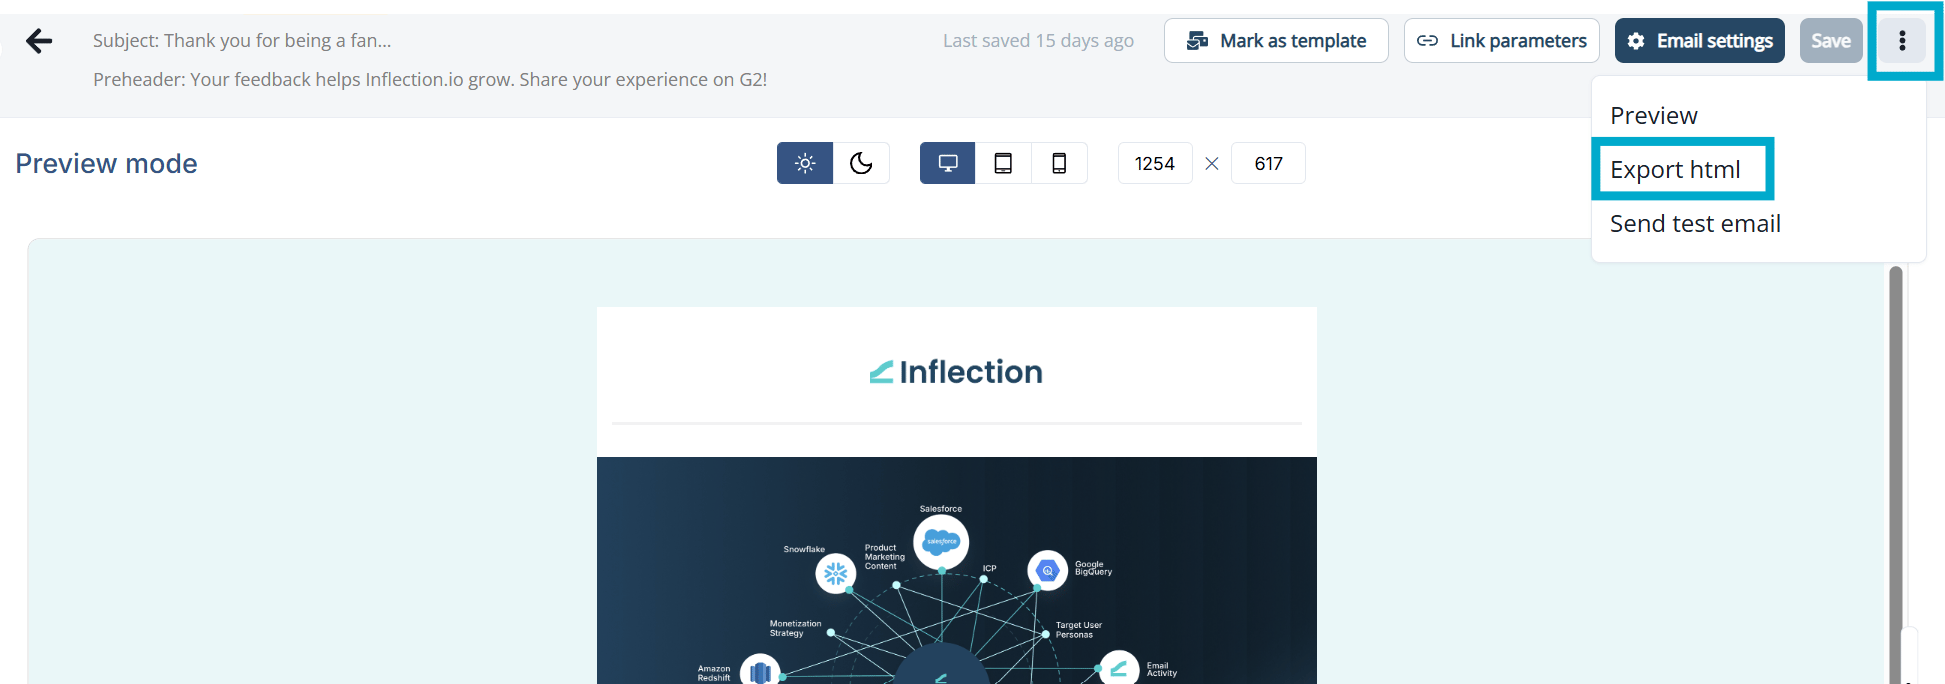
To export an email as an HTML file:- Click the ellipsis icon on the top right side of the email editor page.
- Select Export html.
Send test email
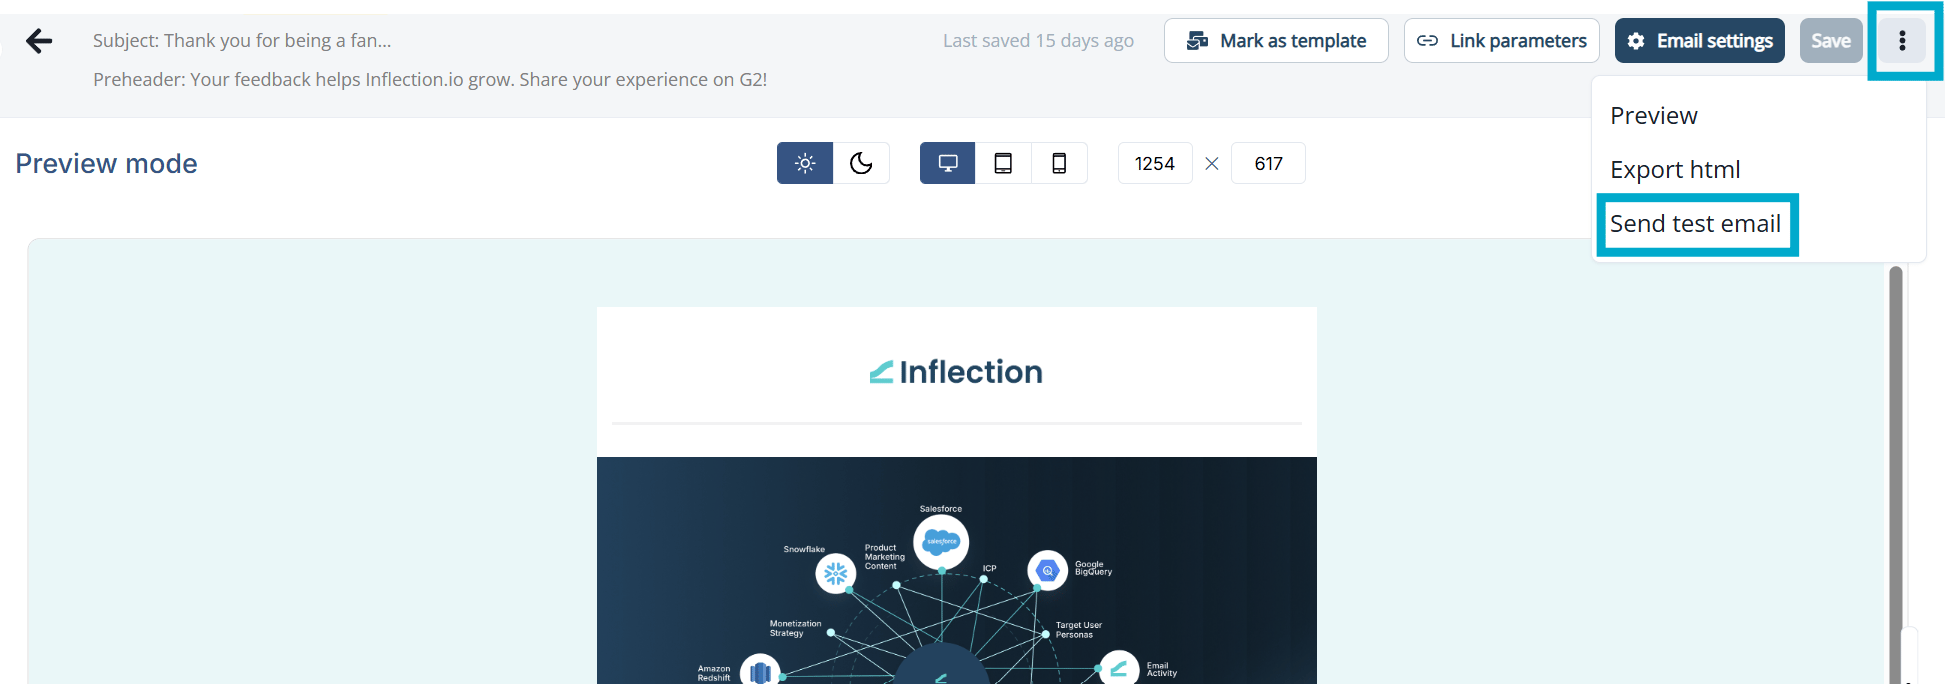
Send a test email to yourself, a colleague, or to your team:- Click on the ellipsis icon on the top right side.
- Select Send test email.
- In Send to, enter the email(s) to send the test email to.
- In Preview as a specific user, enter the email address of an Inflection contact or user.
- Click Send preview.
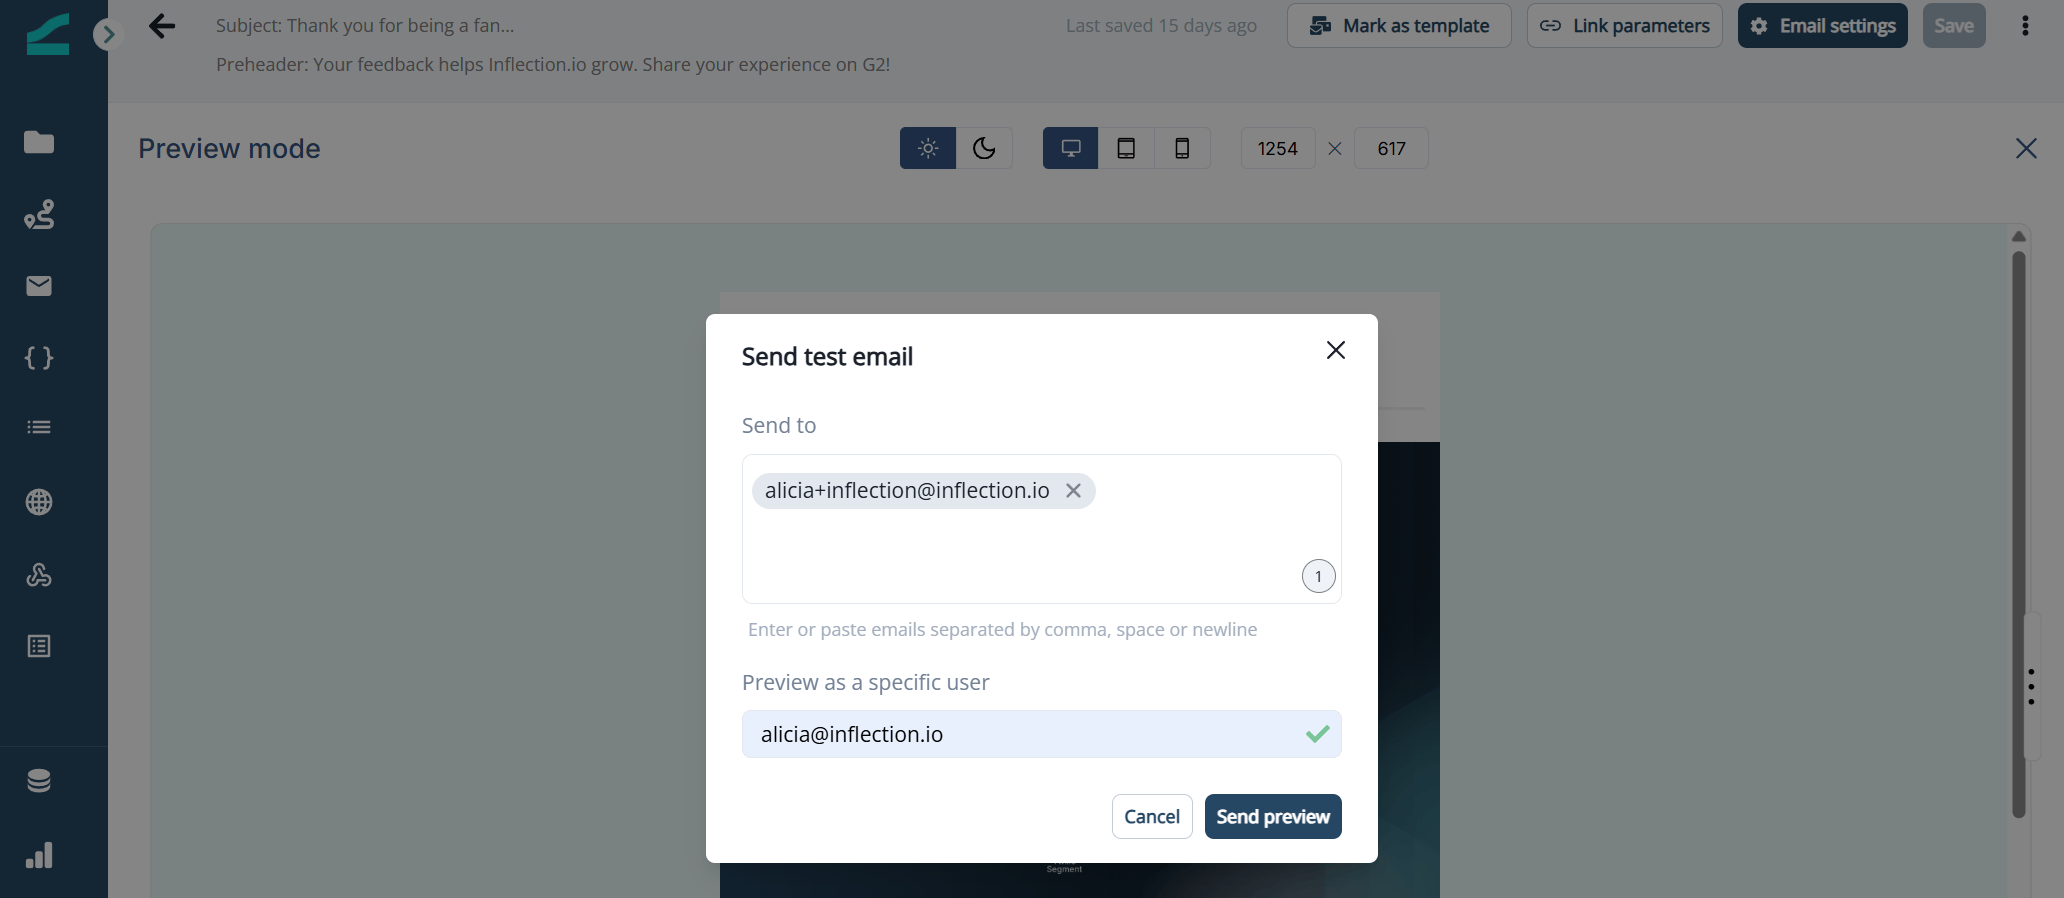
The preview user must exist as a contact or user in the Inflection database. A checkmark indicates that the contact exists in your contact database. If the email address you entered is not in the database, an error is displayed.
Create an Unsubscribe link
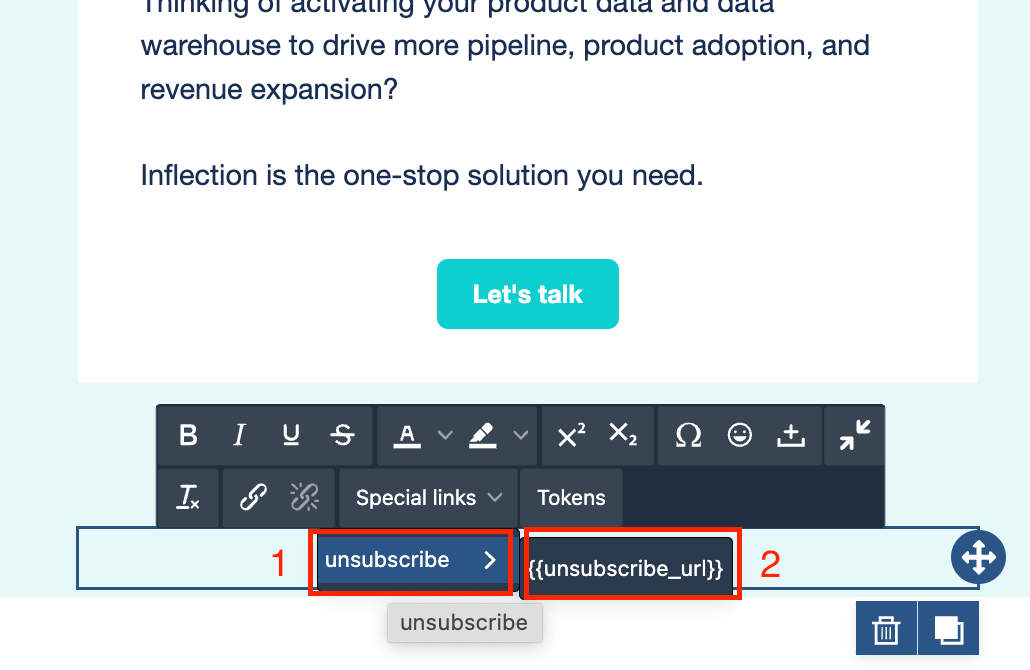
To configure an unsubscribe link in your emails:- Select the text you want to link.
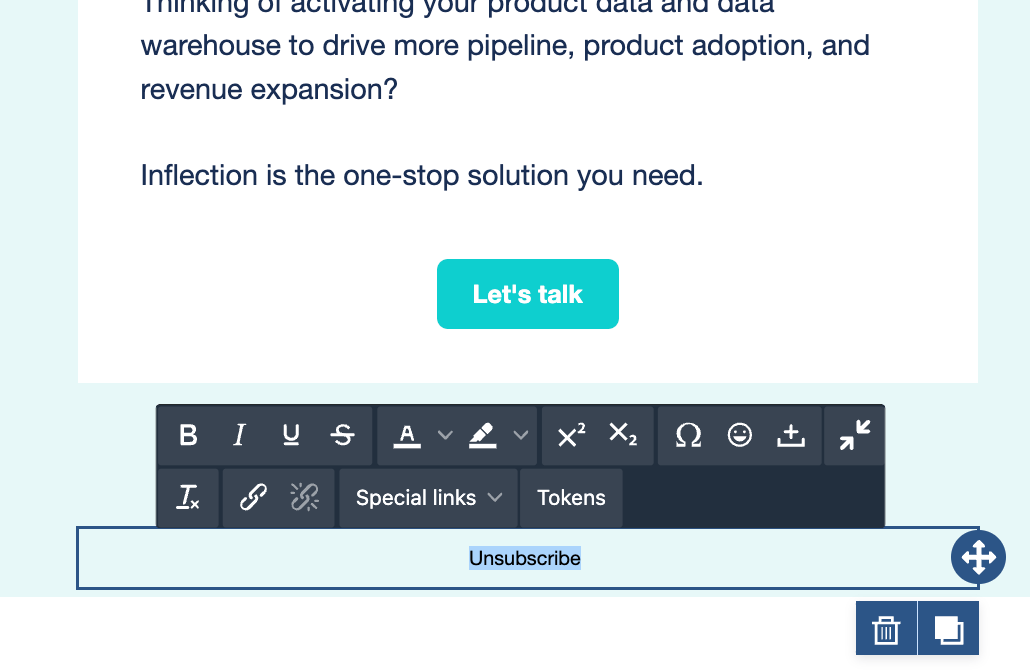
- Select the Special links option on the tool bar that appears.
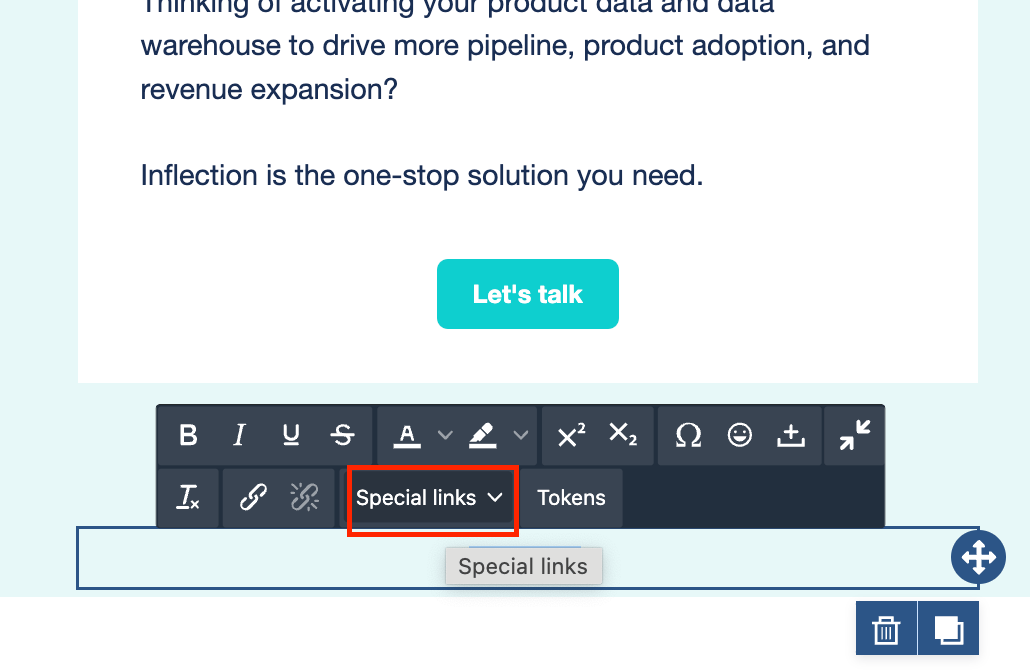
- Select unsubscribe and select the token that slides out. The link is now configured.
Build with HTML Editor (Advanced)
If you selected the HTML editor (Advanced) option when creating the email, you get a raw HTML code editor instead of the visual builder. Paste your HTML, including any personalization tokens, into the code editor, then click Save.Preview Your HTML Email
After saving, you can preview how the HTML renders as an email:- Click Preview email in the top-right toolbar.
- The Email preview drawer opens and renders your HTML, including externally-hosted images. It opens in Desktop view by default; toggle between Desktop and mobile to check how the email renders on each.
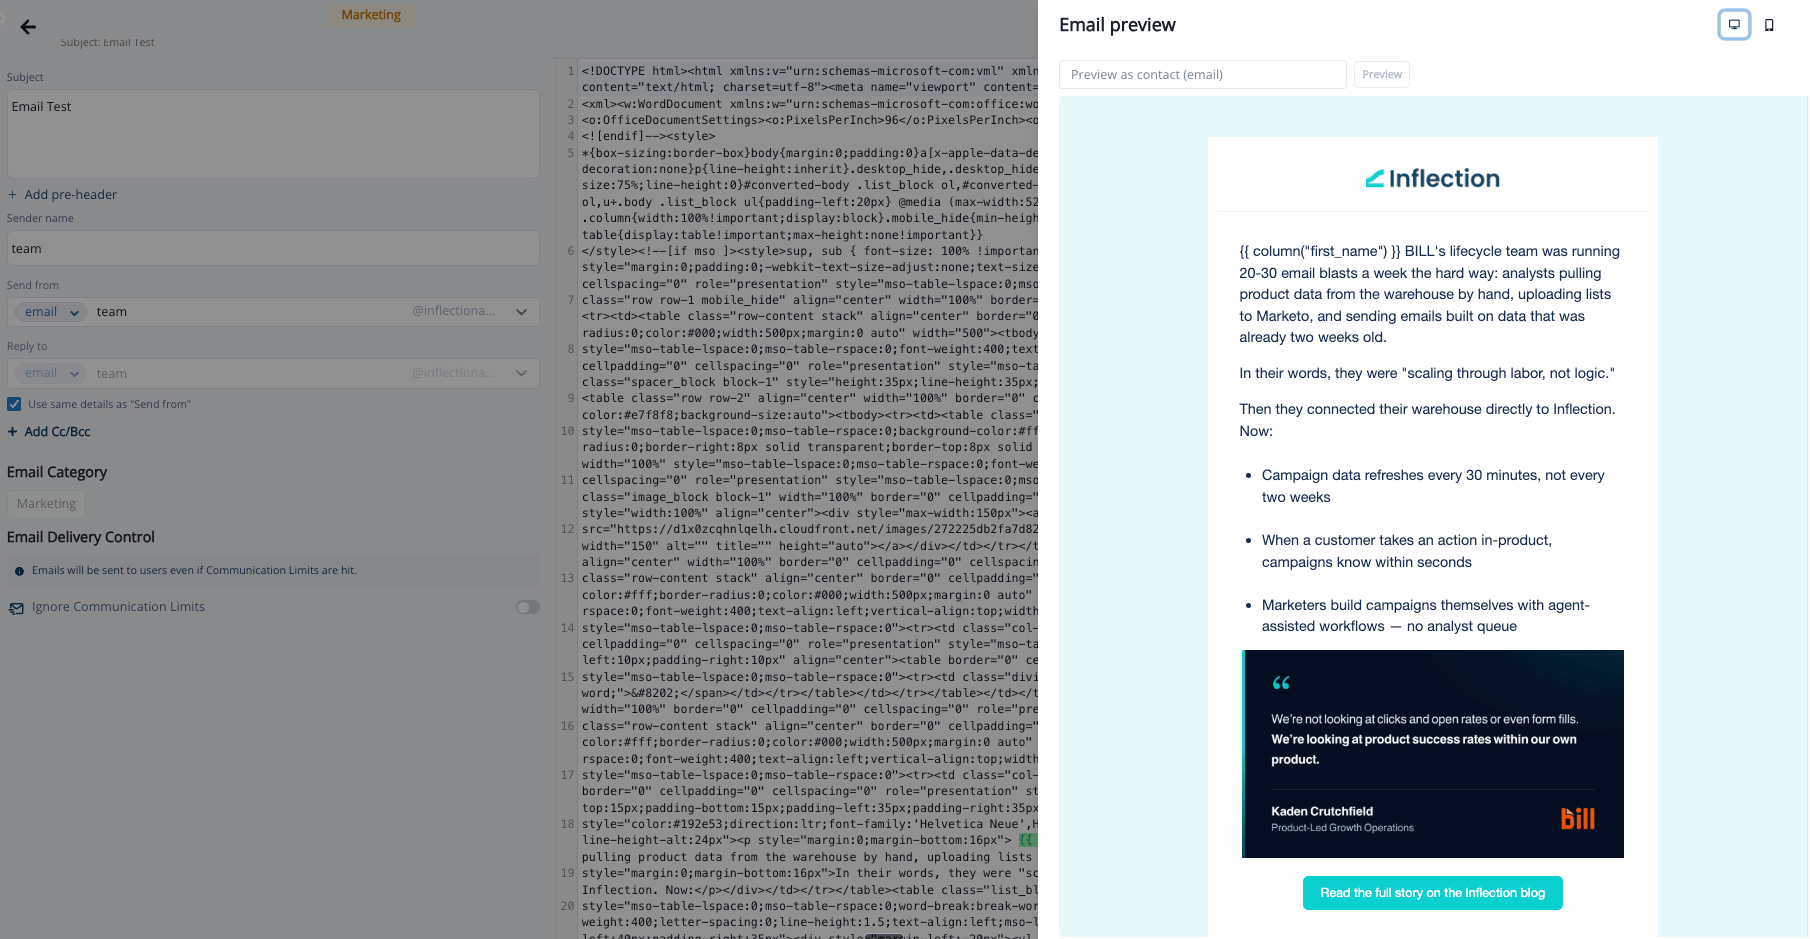
- To see the email as a specific contact would, enter the contact’s email in the Preview as contact (email) field and click Preview (or press Enter). Personalization tokens resolve to that contact’s real values.
- Click the clear (✕) control to return to the unpersonalized template view.