

The Canvas at a Glance
When you open a journey, you see the canvas with a few persistent controls:- Add step panel (right) — the palette of flow steps, grouped by category (Email, Timing, Branching, Integrations, Lists, Data, Salesforce, Structure).
- Canvas toolbar (bottom center) — Undo, Redo, Tidy Up, Add note, and zoom controls.
- Mini map (bottom right) — a zoomed-out overview for navigating large journeys.
- Step toolbar — appears beside a step when you hover over it, with edit, duplicate, and delete actions.
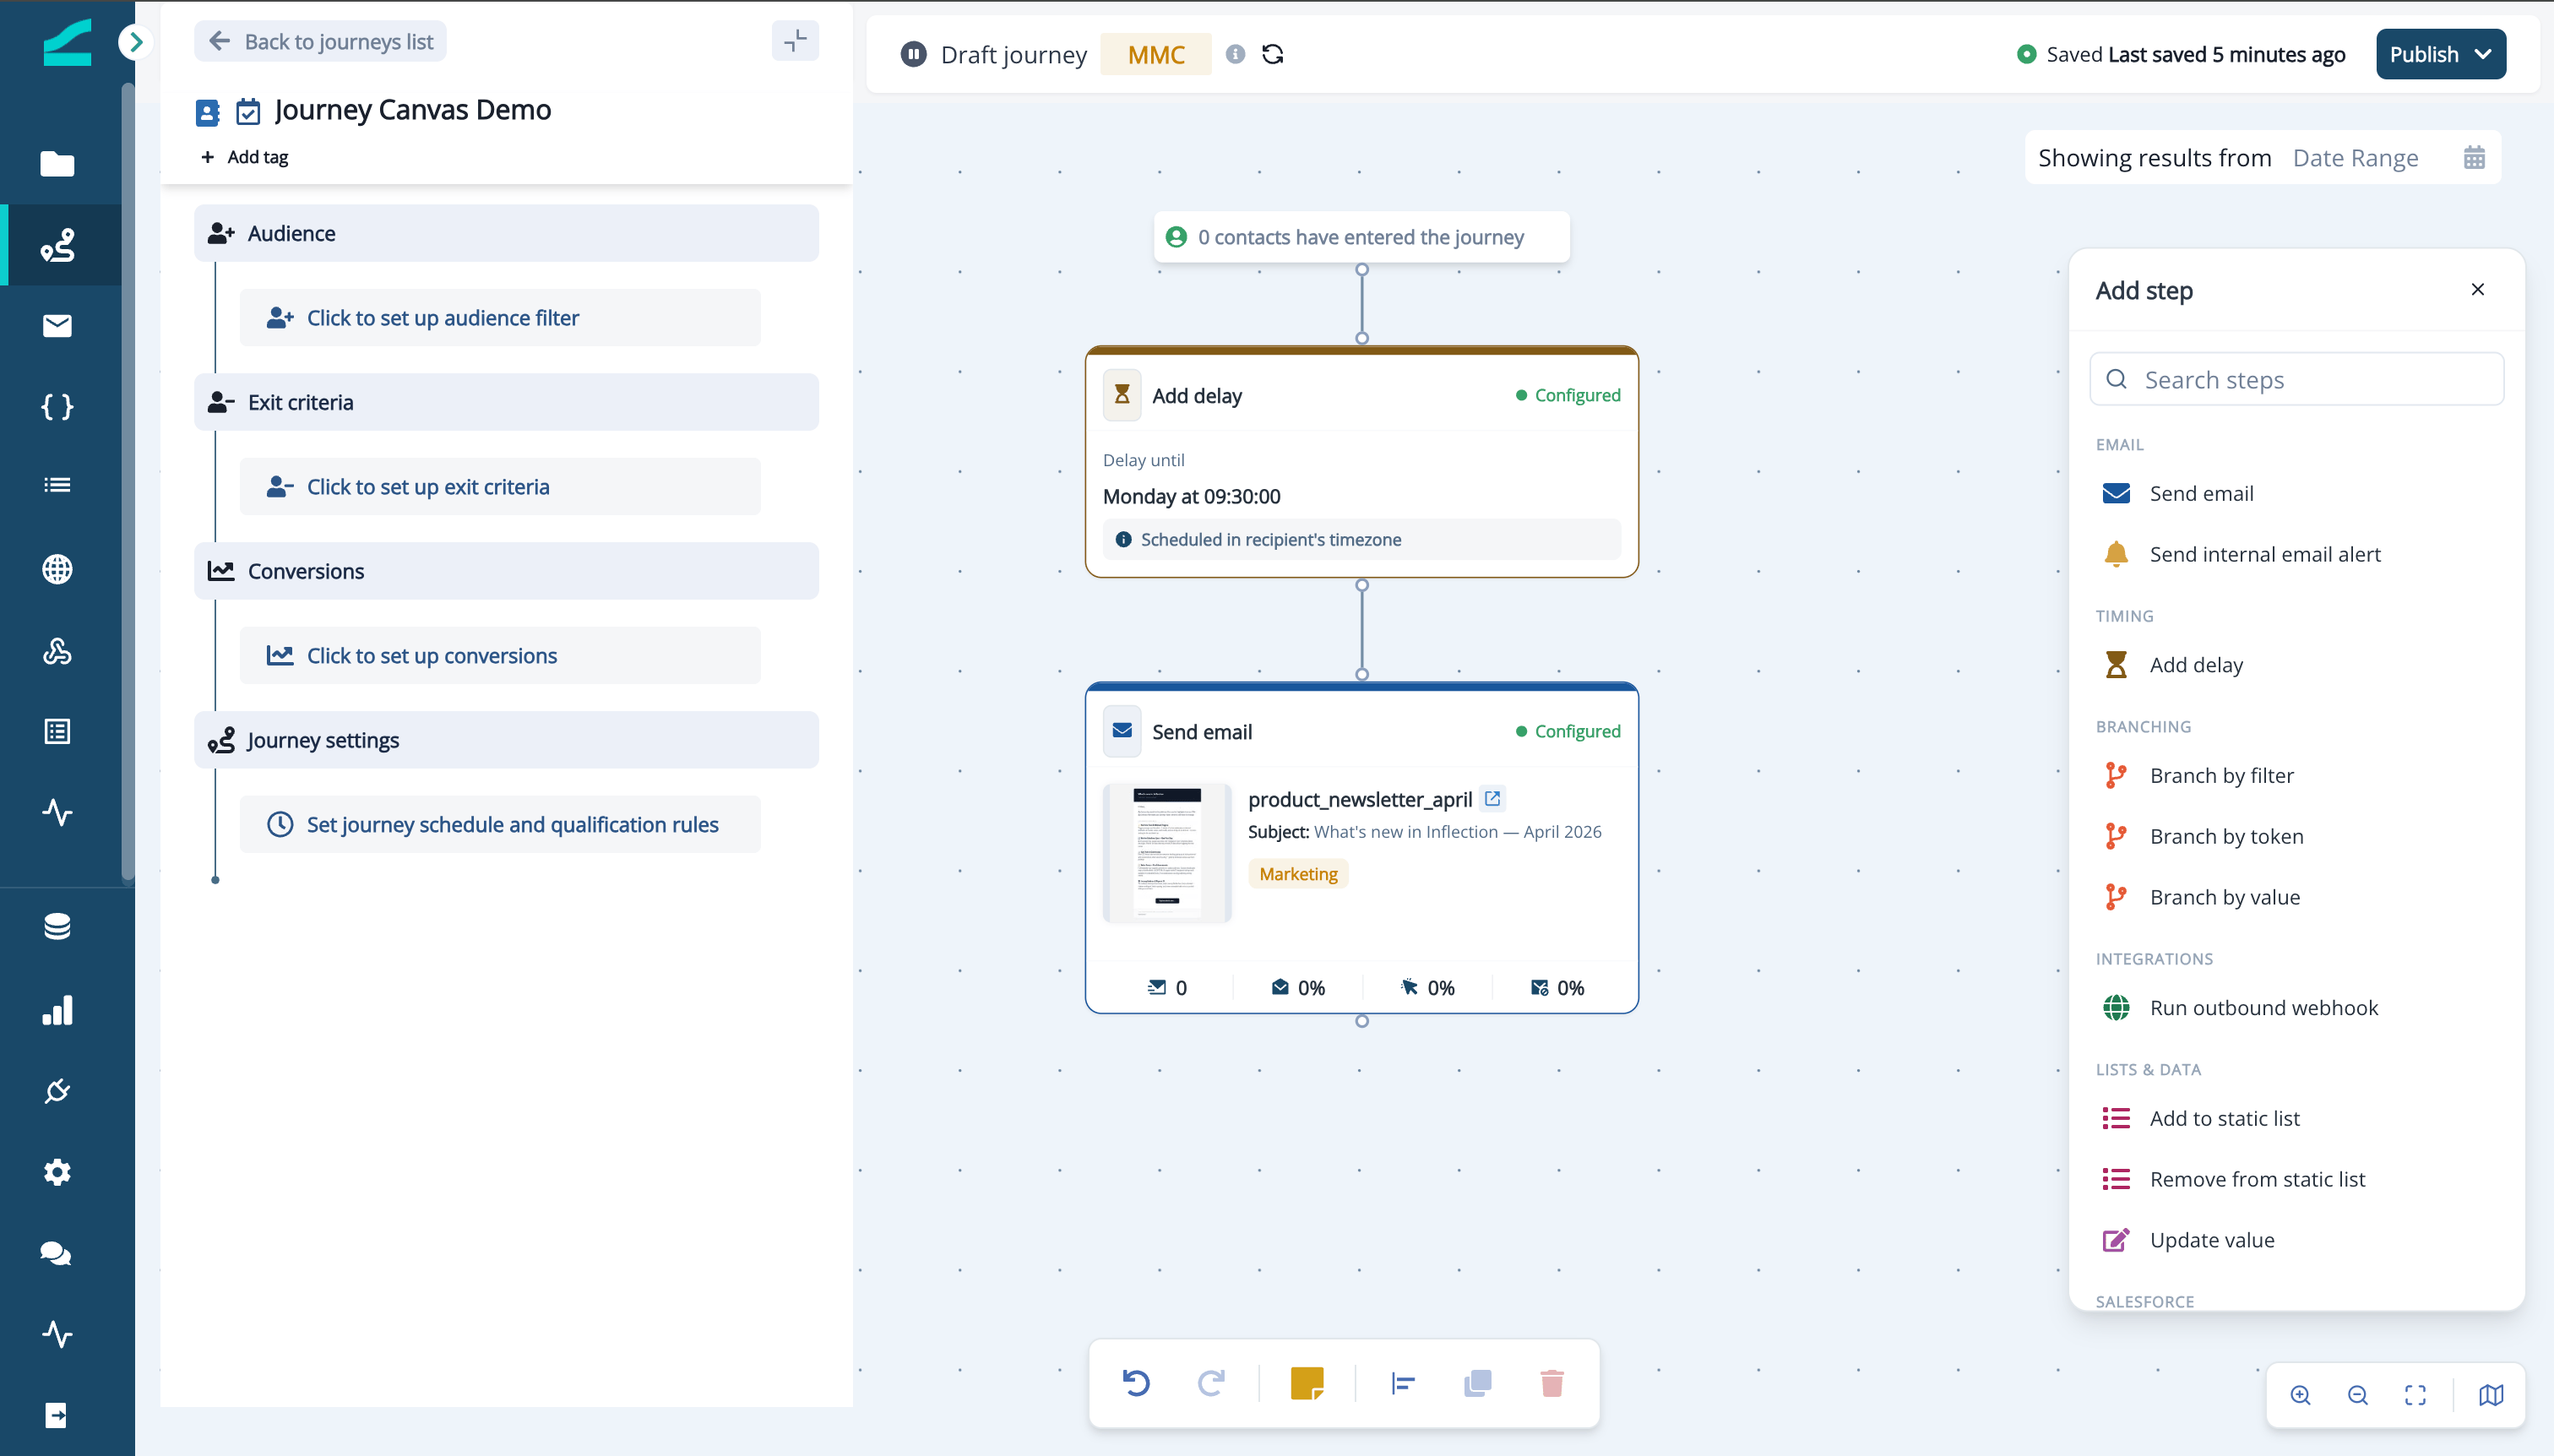
You can edit the canvas only while a journey is unpublished or paused. Published, running journeys open in read-only mode — you can pan, zoom, and copy steps, but not change them. To edit a live journey, pause it first (see Pausing and Editing Active Journeys).
Add a Flow Step
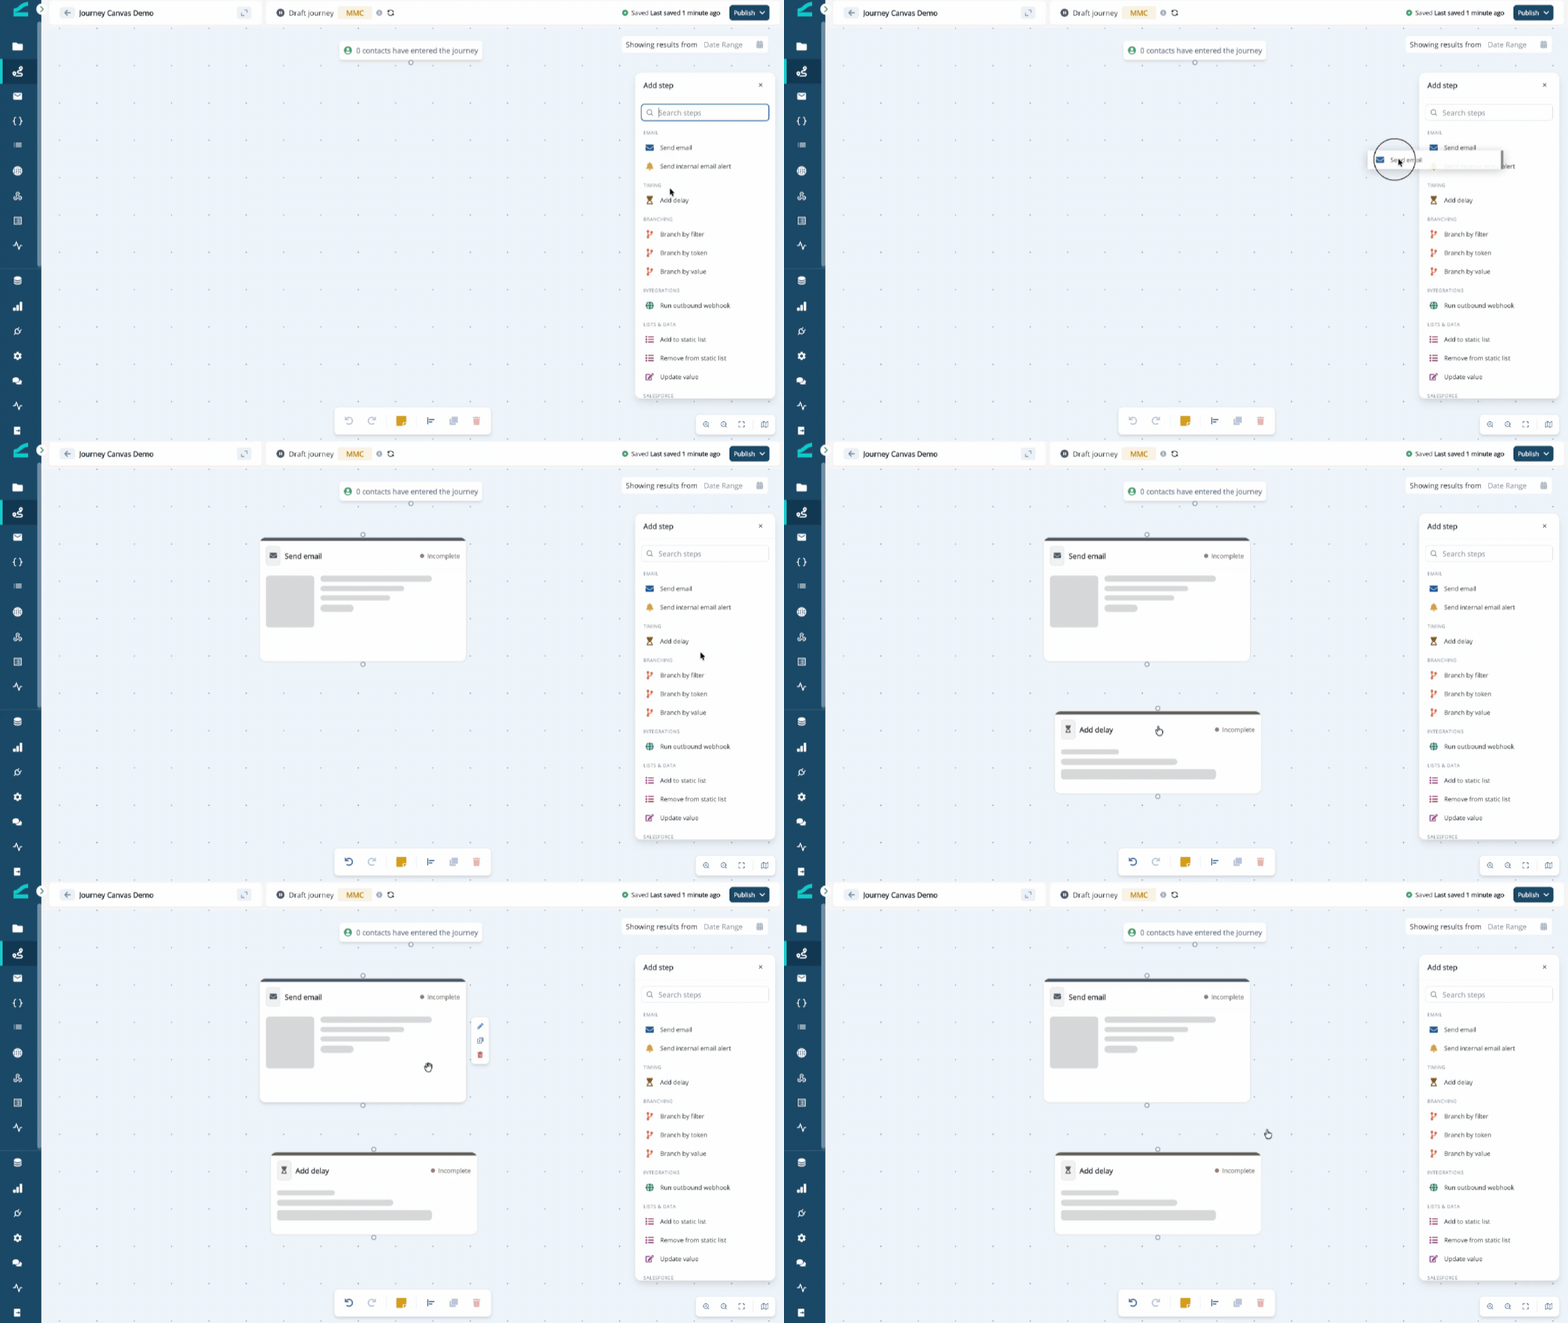
- Open the Add step panel on the right.
- Drag a step from the panel onto the canvas and drop it where you want it. Or click a step in the panel to drop it at the center of the view.
- The new step appears on the canvas, ready to configure.
Connect Flow Steps
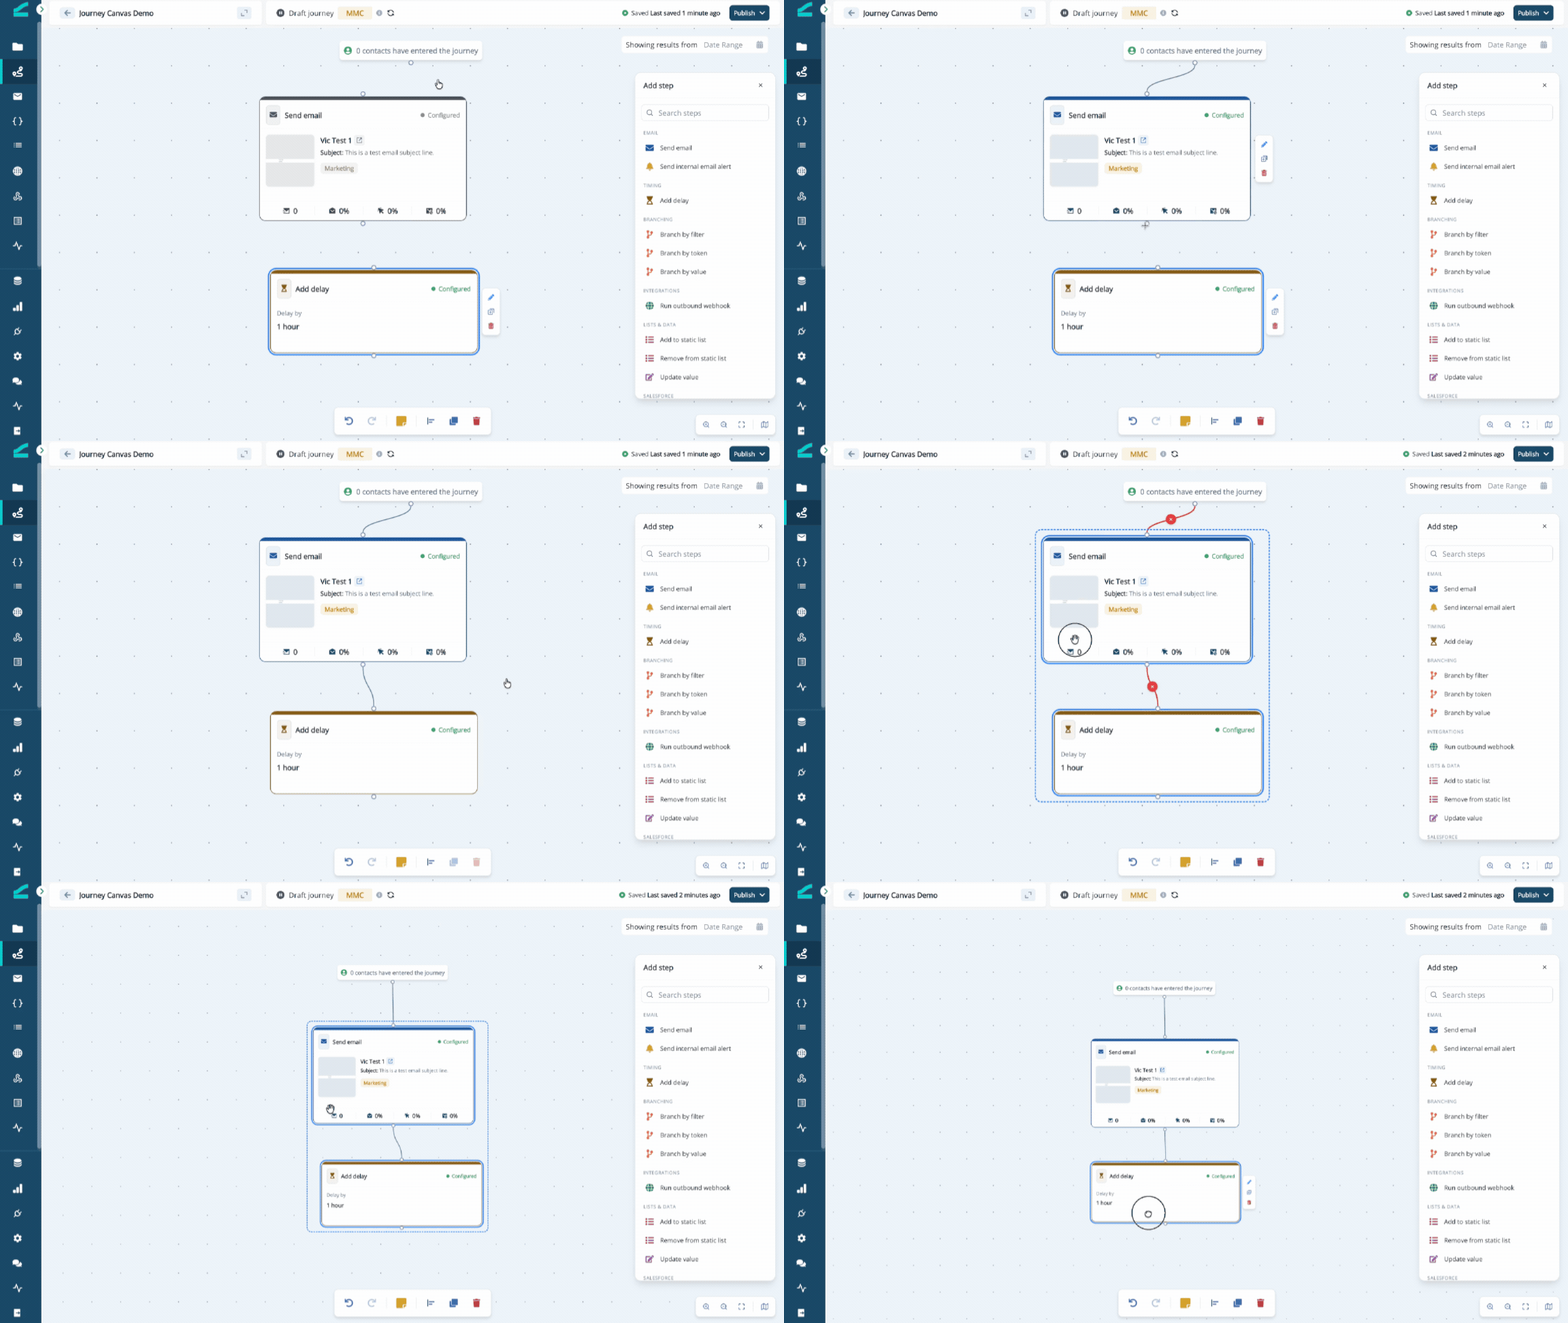
Connections define the order contacts move through your journey.- Hover over the step you want to connect from. A small round handle appears at the bottom of the step.
- Drag from that handle to the handle at the top of the step you want to connect to.
- Release to create the connection. The cursor shows a crosshair while you drag.
Connections can’t cross a nested-journey boundary. To connect a step inside a container to one outside it, wire the container’s exit handle to the outer step instead.
Select and Move Steps
- Select a step by clicking it. A colored ring shows it’s selected.
- Select multiple steps by holding Shift and clicking each one, or by dragging a selection box (marquee) across the canvas.
- Move selected steps by dragging any one of them — the whole selection moves together — or by nudging with the arrow keys.
- Deselect everything by pressing Esc.
Duplicate a Step
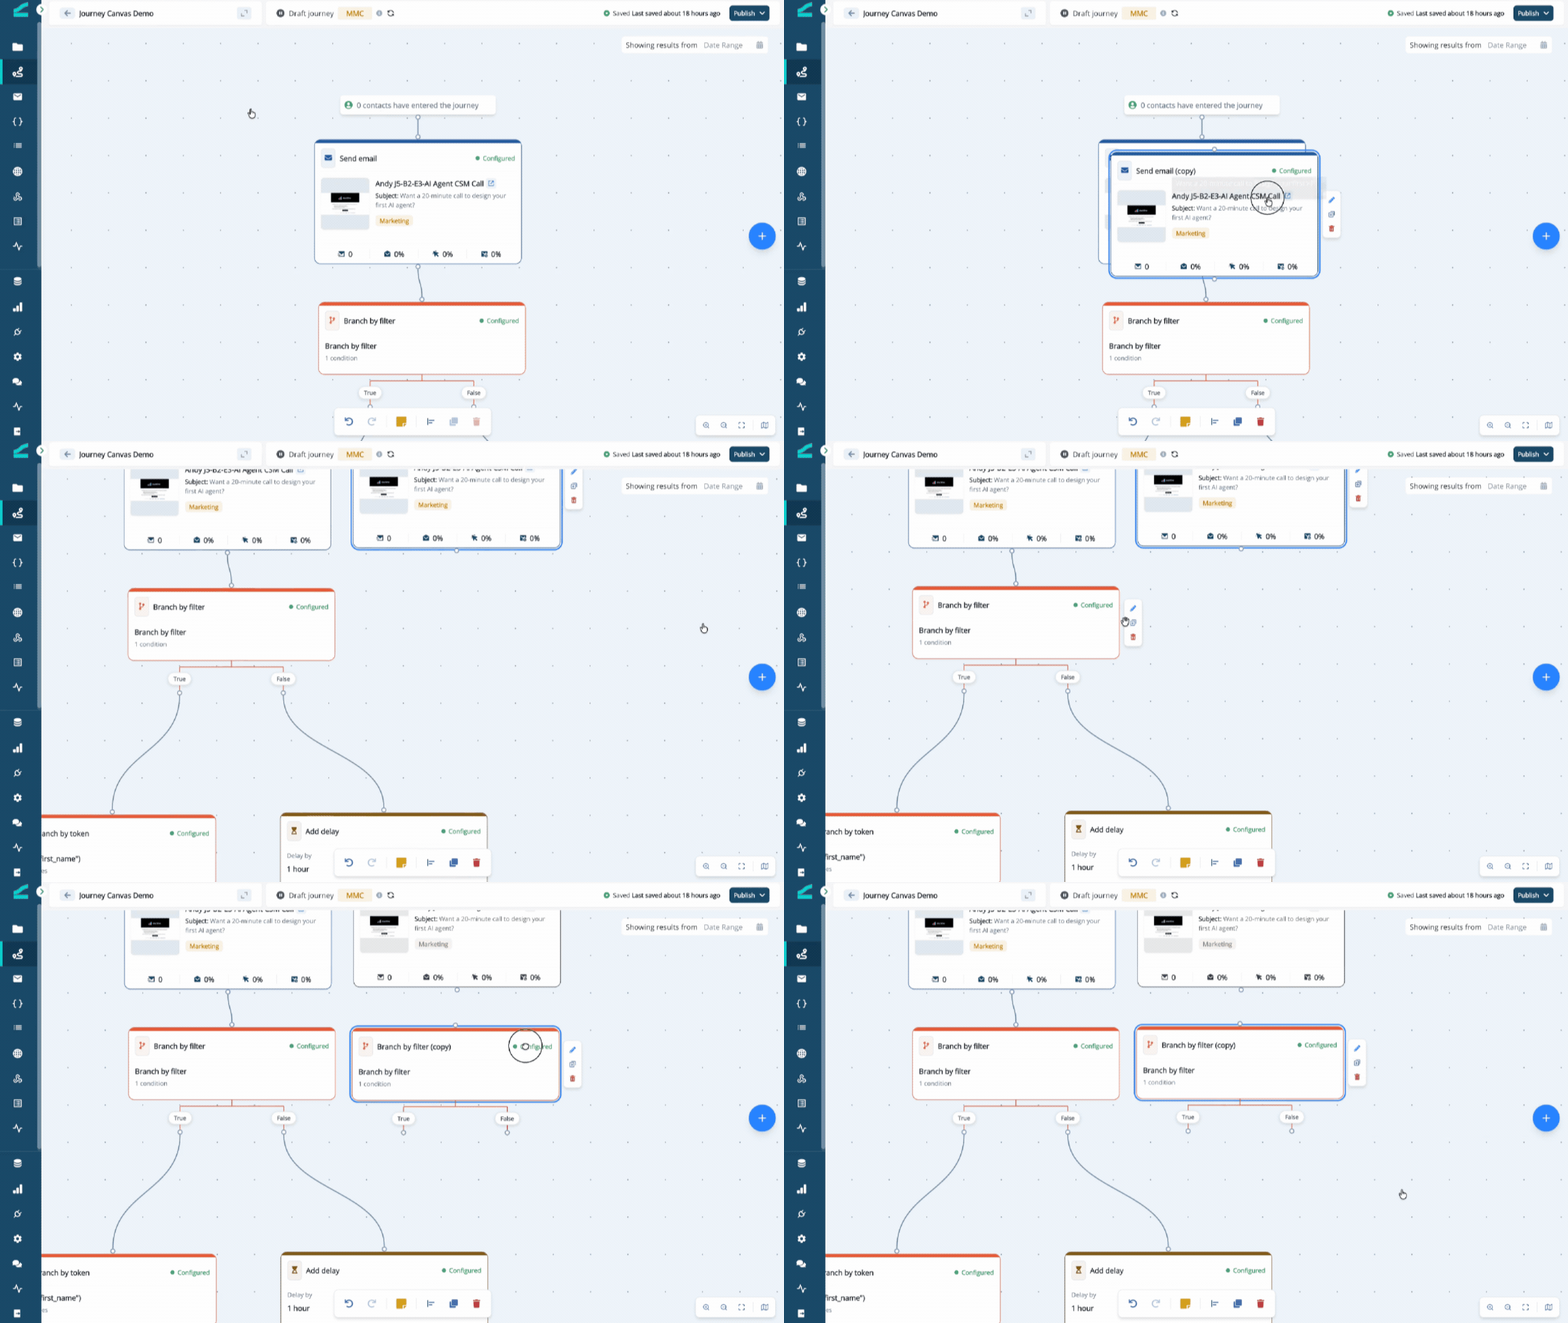
- Hover over the step you want to copy.
- In the step toolbar that appears, click the duplicate icon.
- A copy appears just below and to the right of the original, with the same configuration.
Copy and Paste Steps
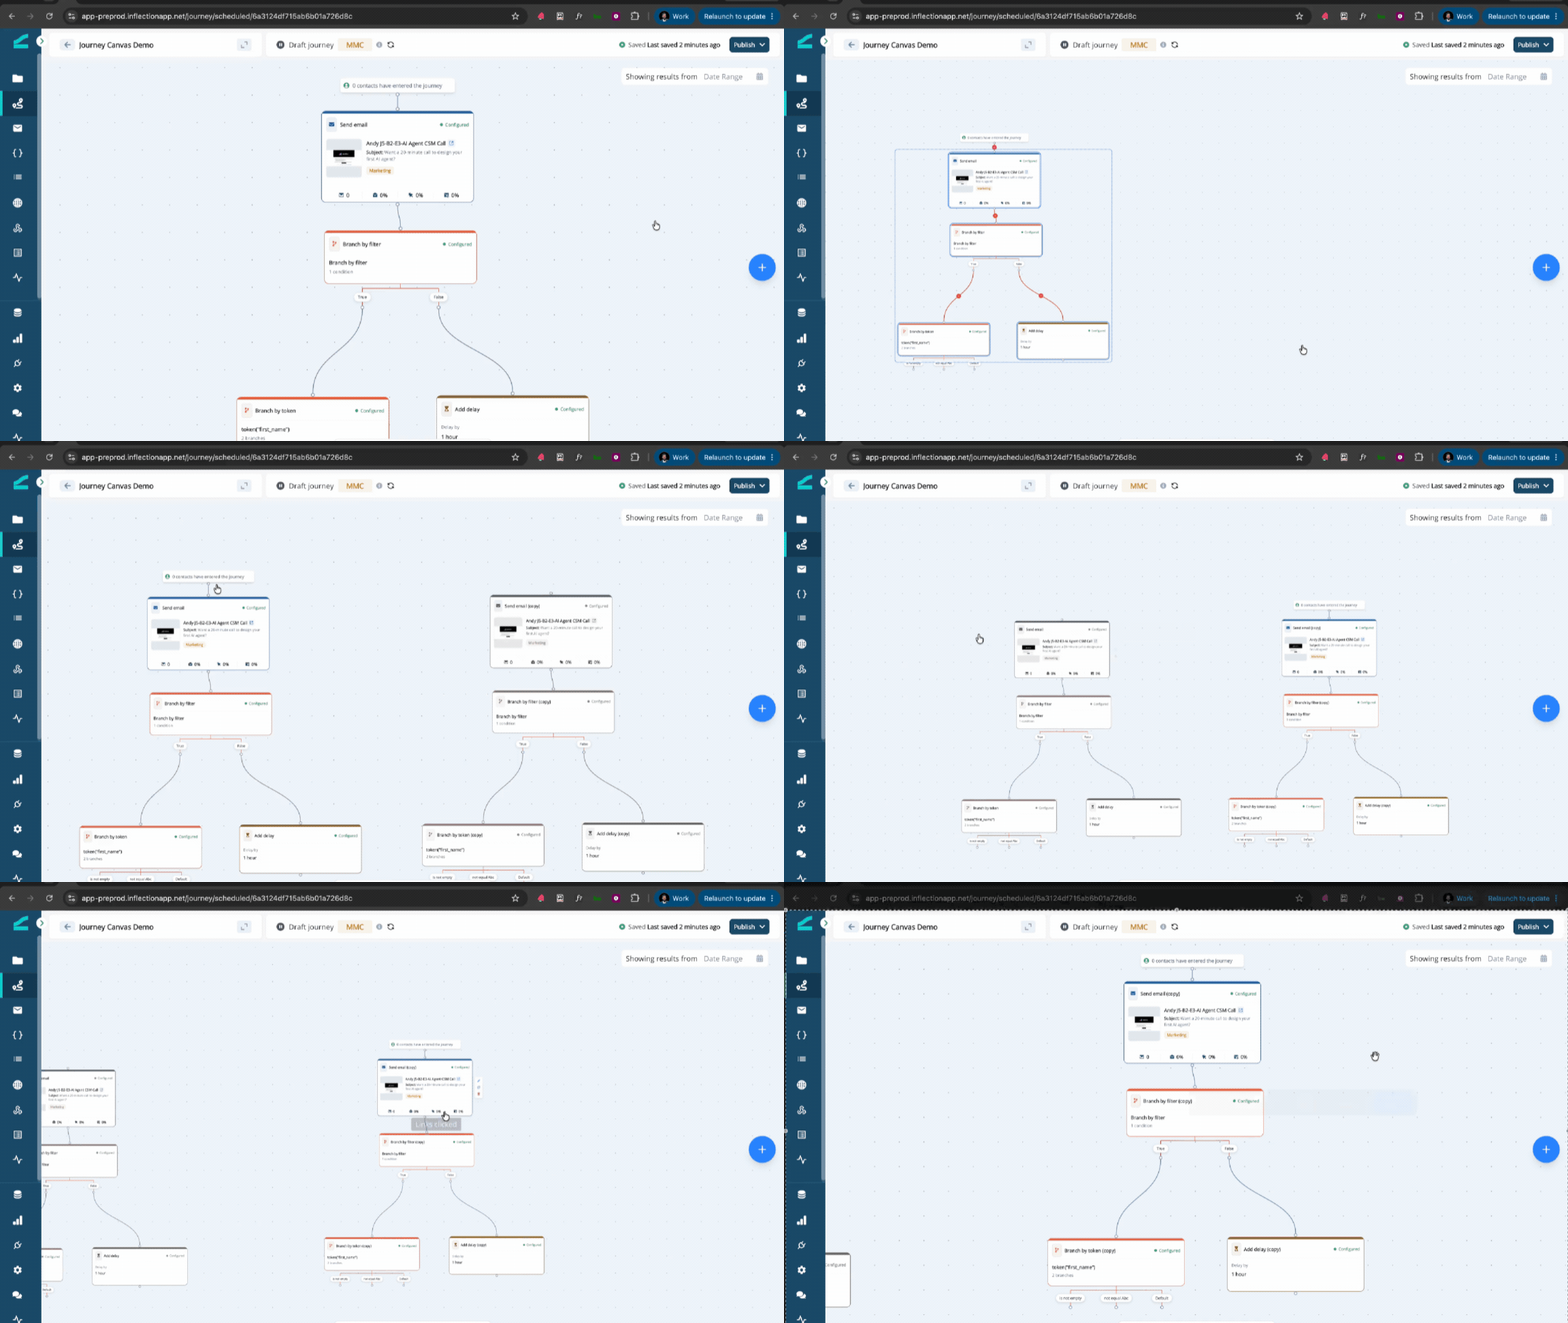
Copy and paste lets you reuse one or many steps — even across different journeys.- Select one or more steps.
- Press Cmd+C (Mac) or Ctrl+C (Windows) to copy.
- Press Cmd+V / Ctrl+V to paste. Pasted steps appear slightly offset from the originals.
Undo and Redo
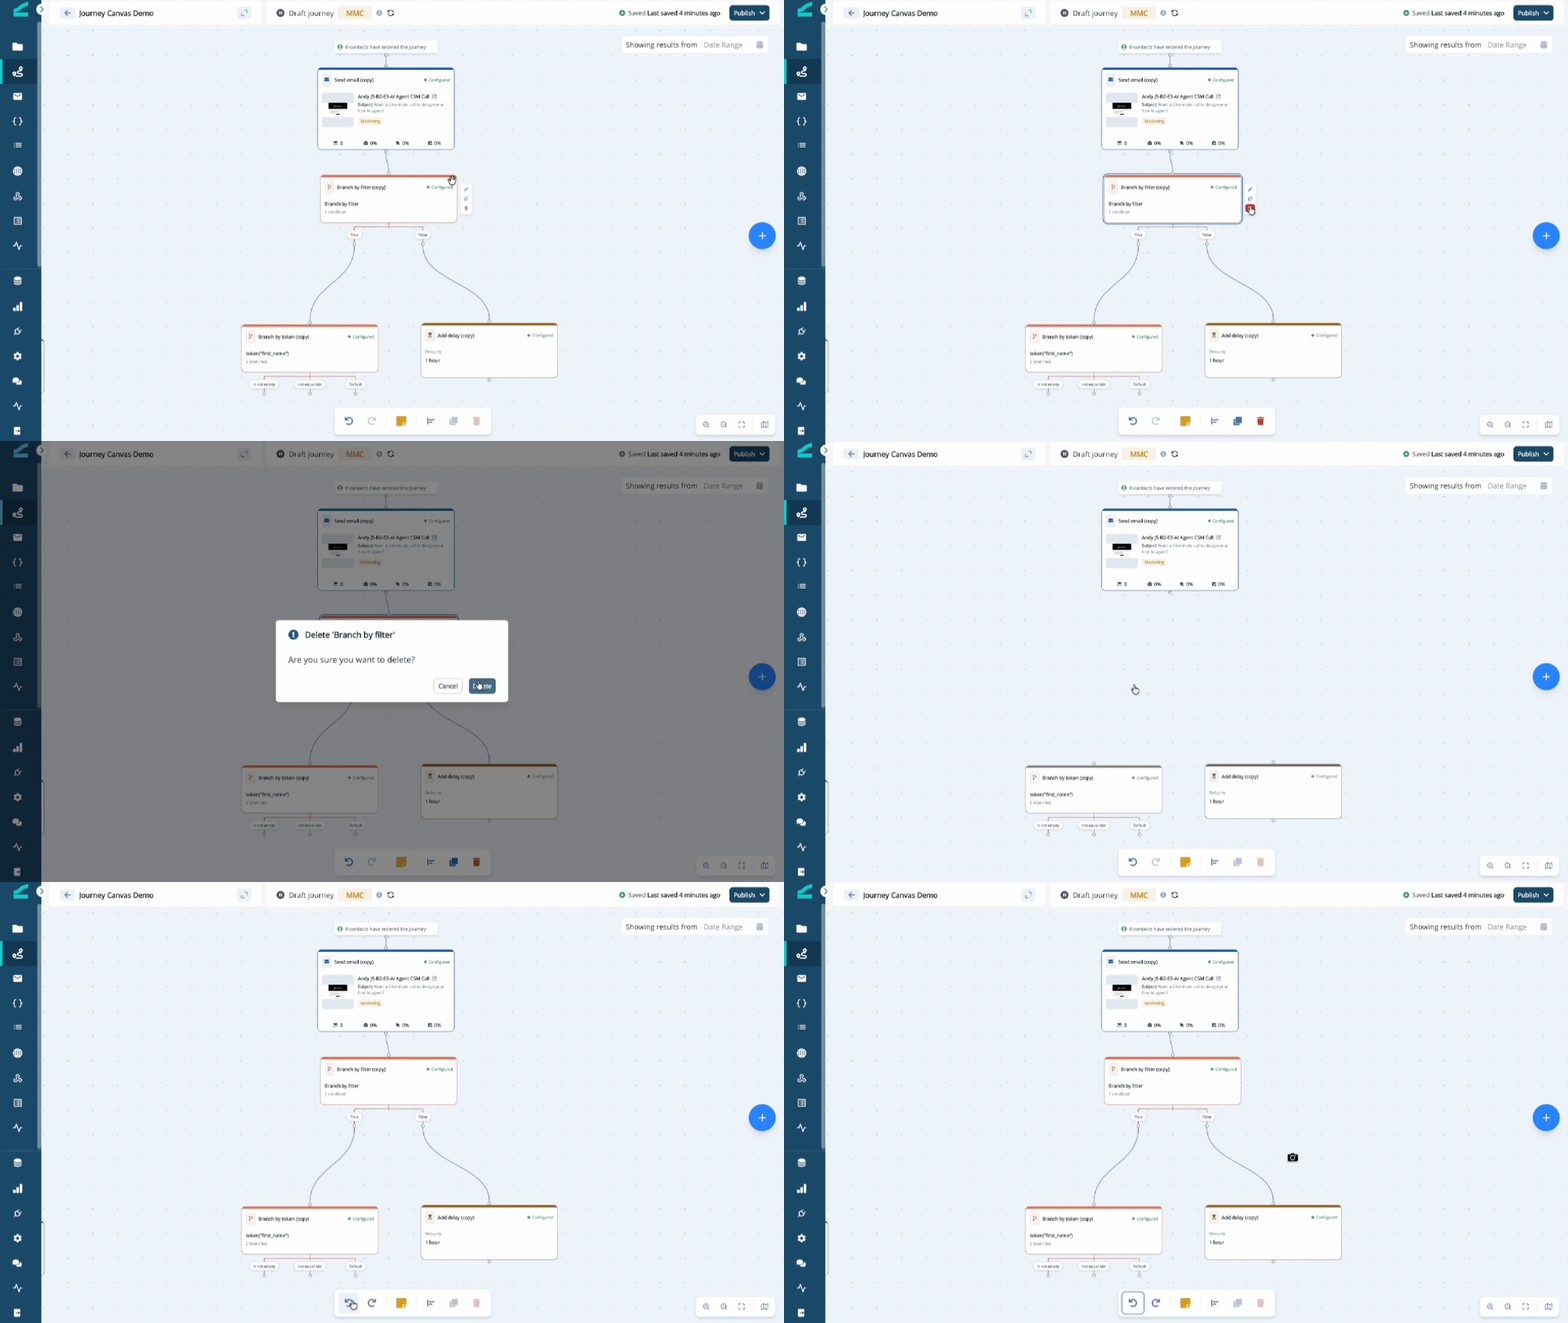
Every canvas change can be undone.- Click Undo in the toolbar, or press Cmd+Z / Ctrl+Z.
- Click Redo, or press Cmd+Shift+Z / Ctrl+Shift+Z.
If the journey changed since your last action (for example, another editor made an edit), undo may not apply. You’ll see a brief message and the canvas will refresh to the latest saved state.
Tidy Up (Auto-Arrange)
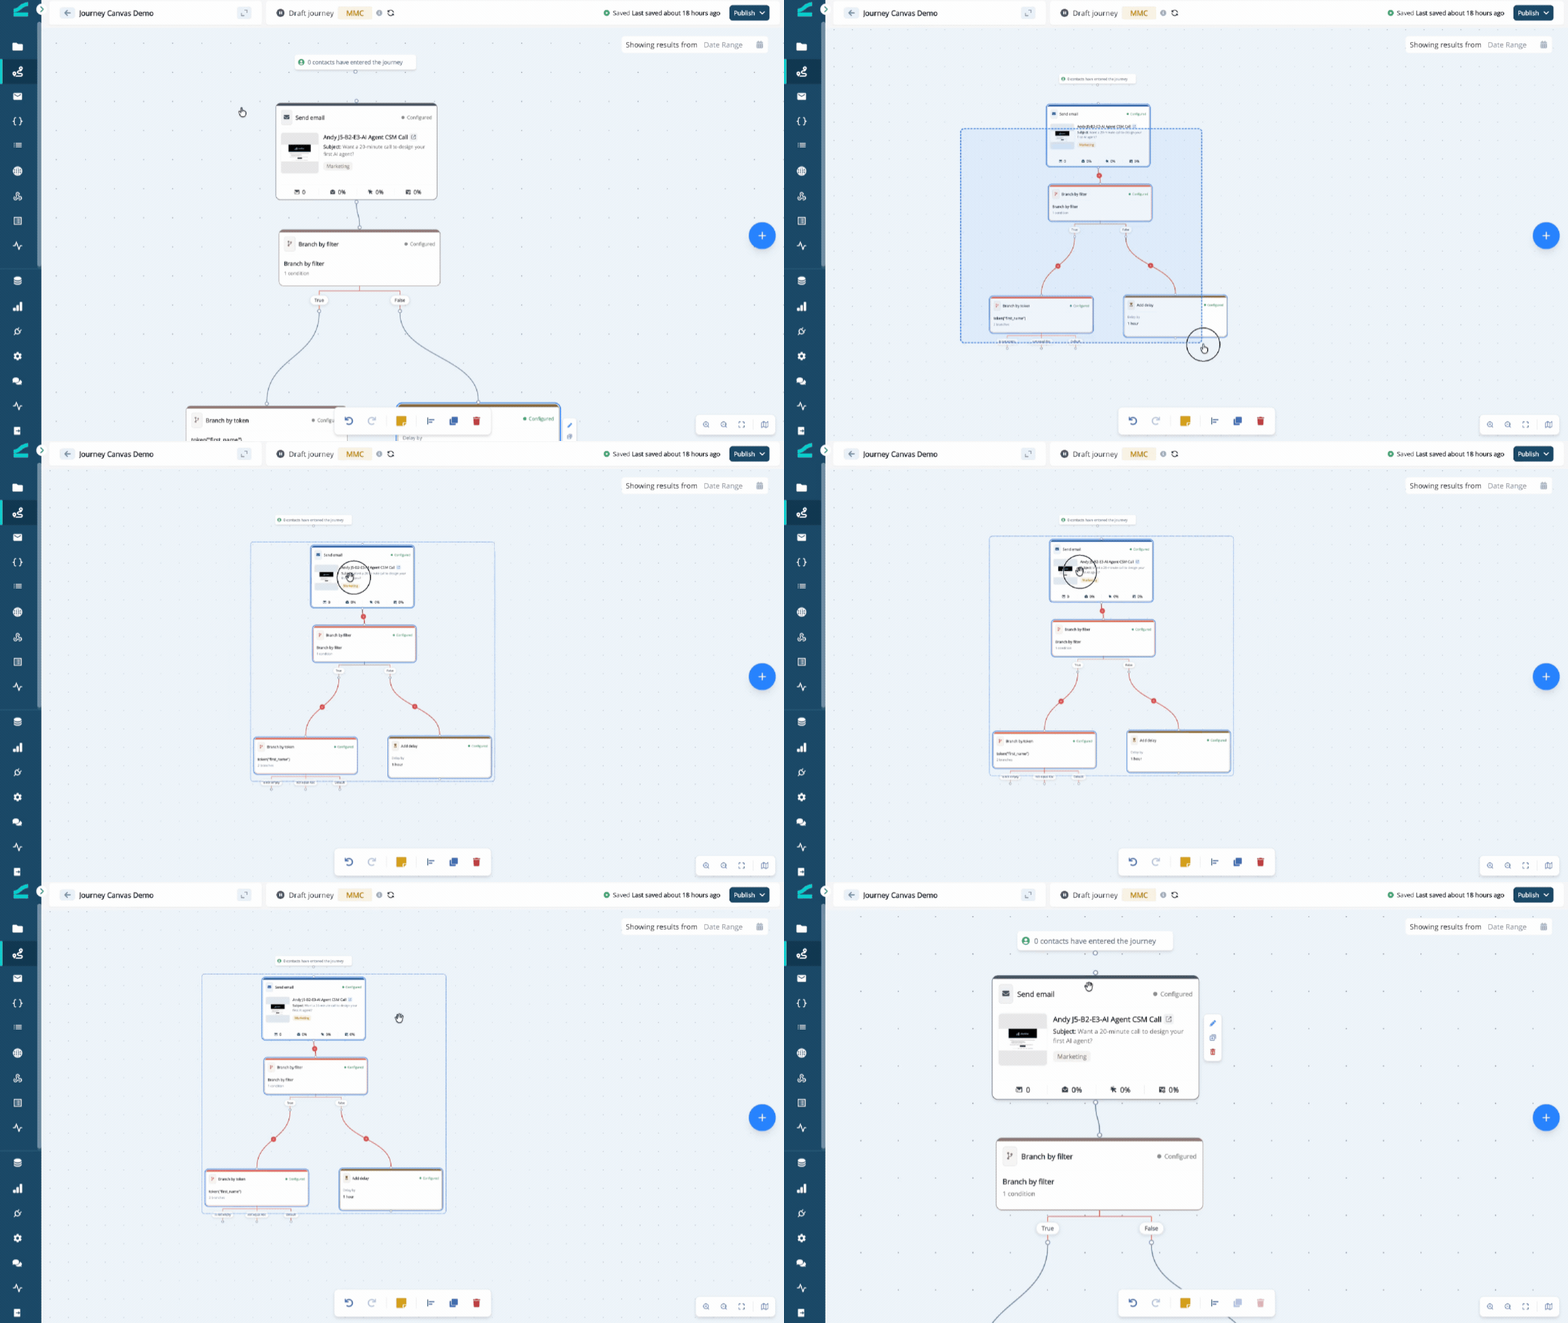
Click Tidy Up or Align actions in the toolbar to automatically arrange your steps into a clean, readable layout. Tidy up re-flows the whole canvas — including the contents of any nested journeys — and recenters the view. Align is applied only on selected nodes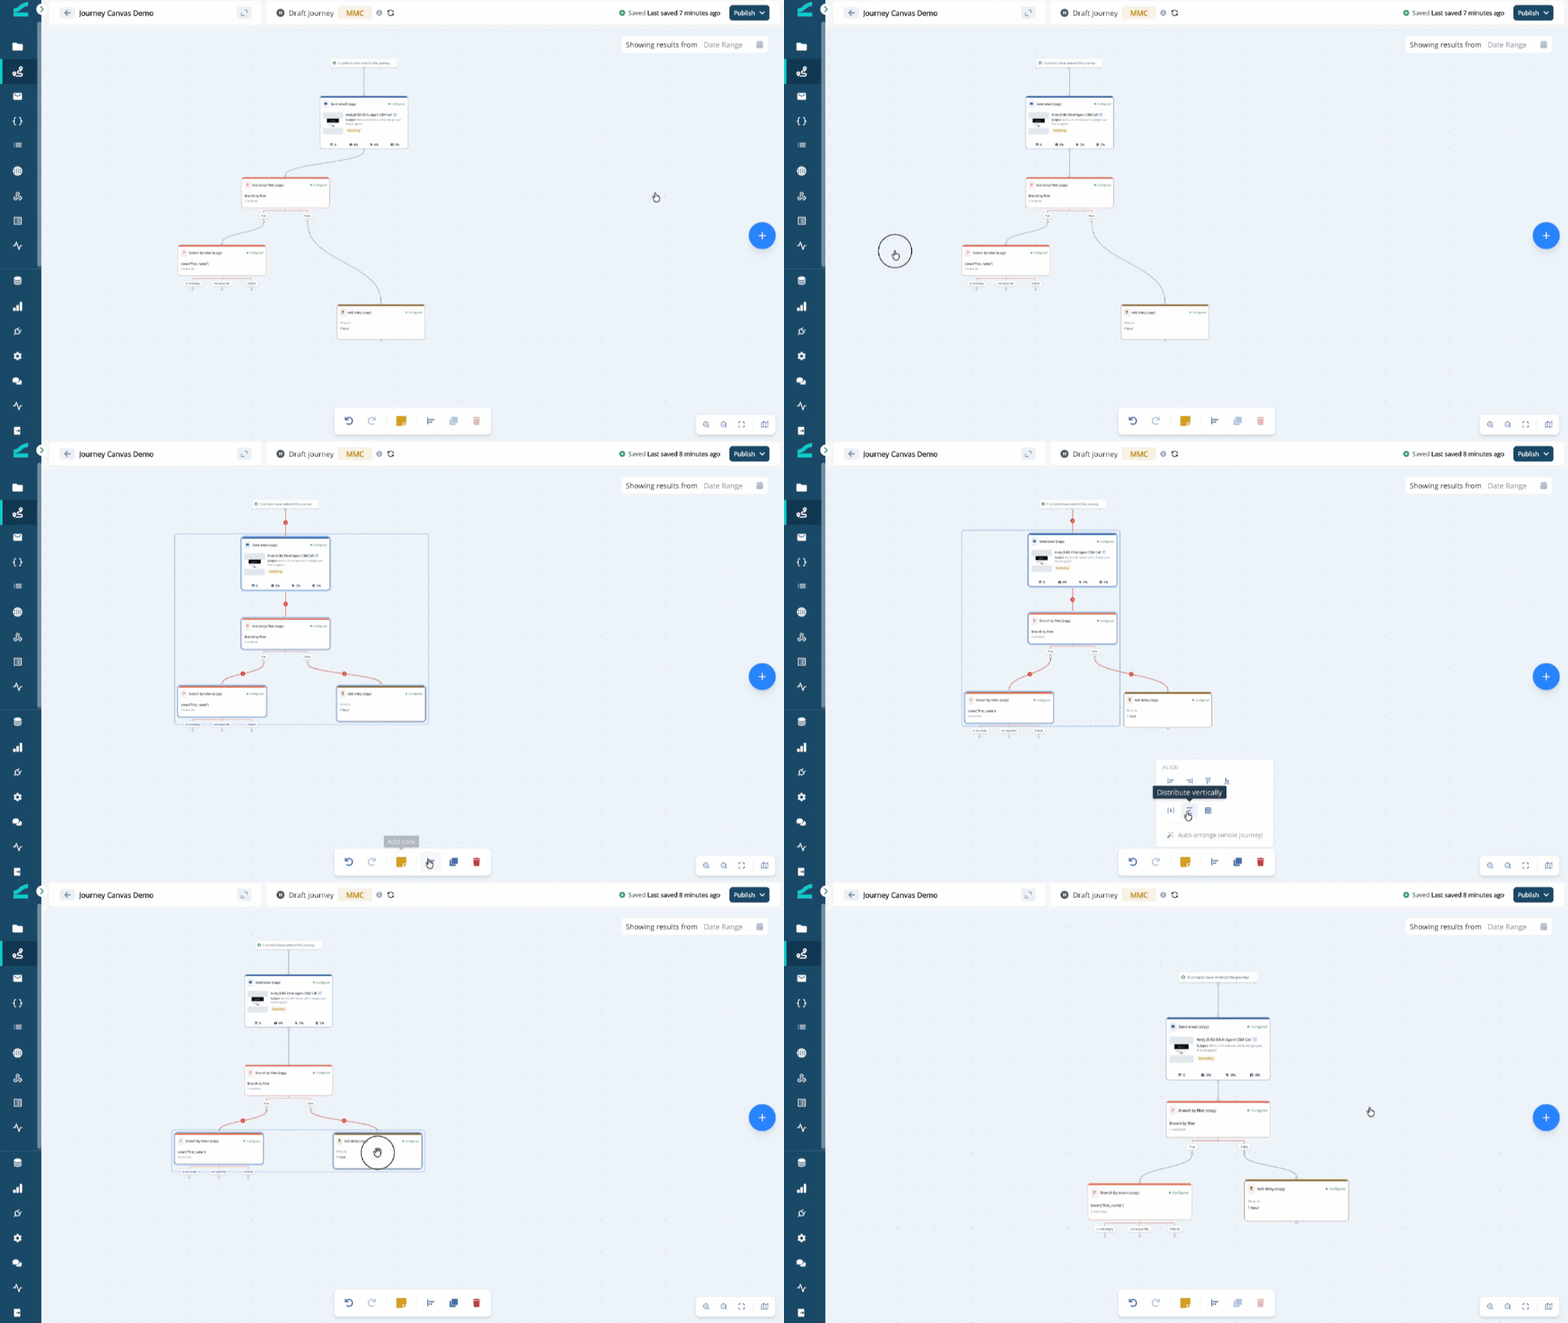
Add a Sticky Note
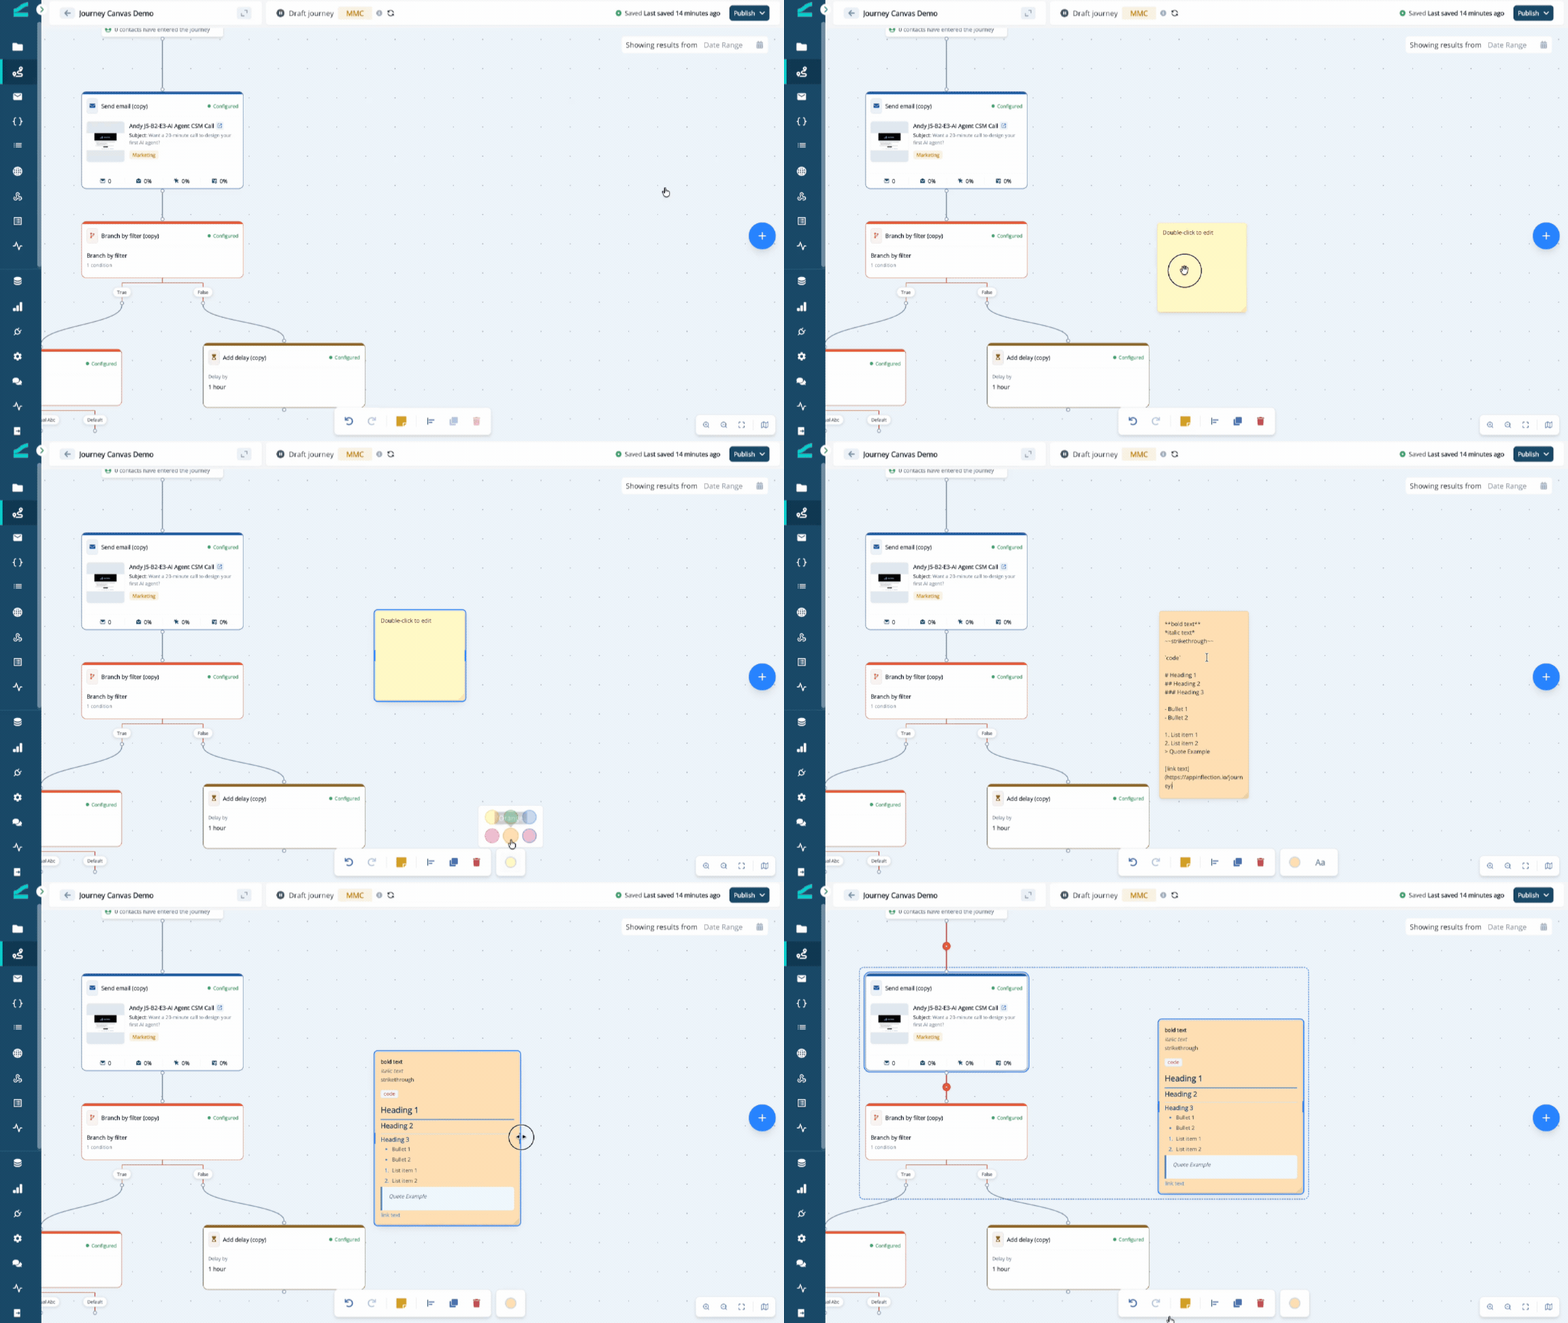
Sticky notes let you leave context for yourself and your teammates on the canvas. They don’t affect how the journey runs.- Click Add note in the toolbar. A note appears at the center of the view.
- Double-click the note to type. Click away to save.
- Drag the note’s corners to resize it.
Delete Steps and Connectors
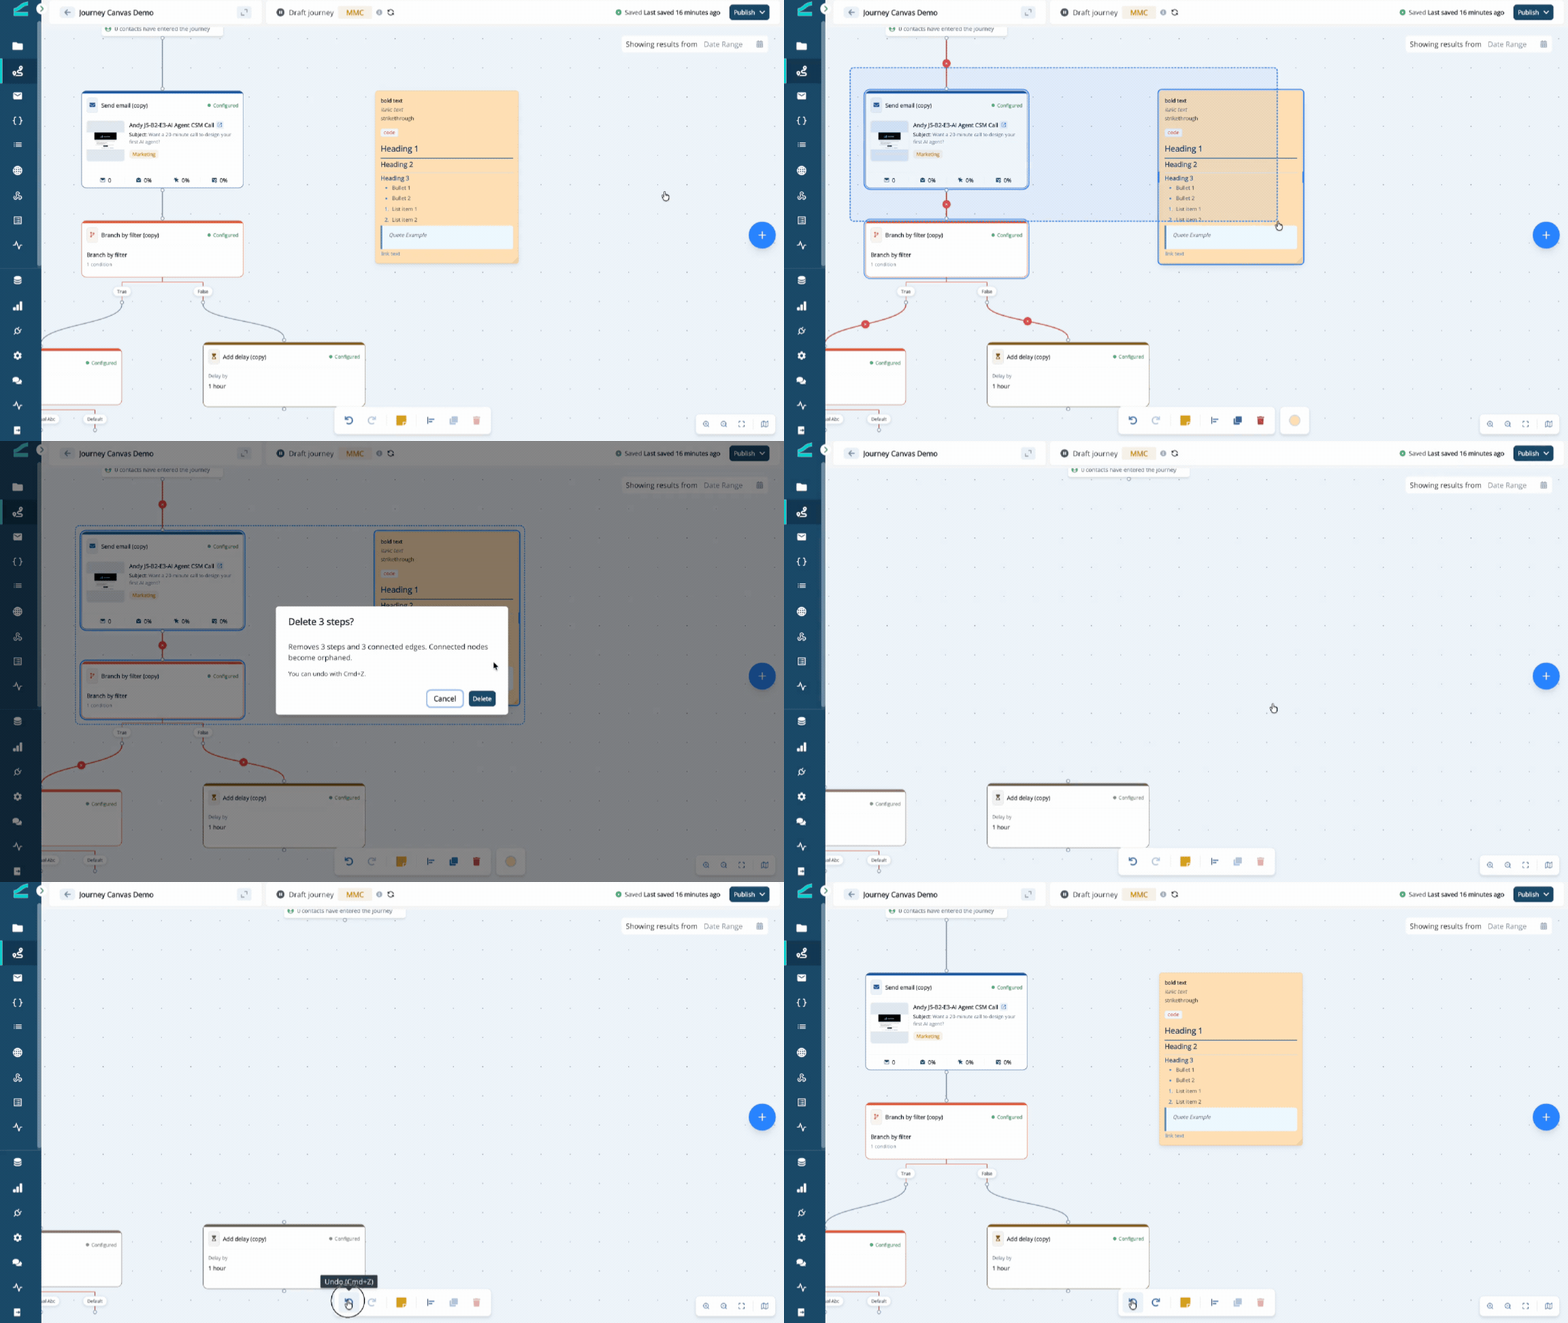
You can delete a single step, a connector, or several steps at once:- A step: hover over it and click the delete icon in its toolbar, or select it and press Delete / Backspace.
- A connector: select it and press Delete / Backspace. Connectors delete without a prompt — undo with Cmd+Z if needed.
- Multiple steps: select them and press Delete / Backspace.
Deleting a step can leave the steps that followed it disconnected (“orphaned”). Reconnect them after deleting. You can undo a delete with Cmd+Z.
Keyboard Shortcuts
Additional resources