

View and Manage Webhooks
View and Manage Webhooks
Navigate to Outbound Webhooks from the left sidebar to view all configured webhooks.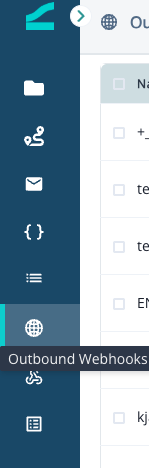
Create a New Webhook
Create a New Webhook
There are two ways to create a new outbound webhook:
- Click Outbound Webhooks in the left sidebar, then click New Outbound Webhook on the listing page.
- Navigate to a folder and create a new ‘Outbound webhook’ directly in the folder
Configure the Webhook
Configure the Webhook
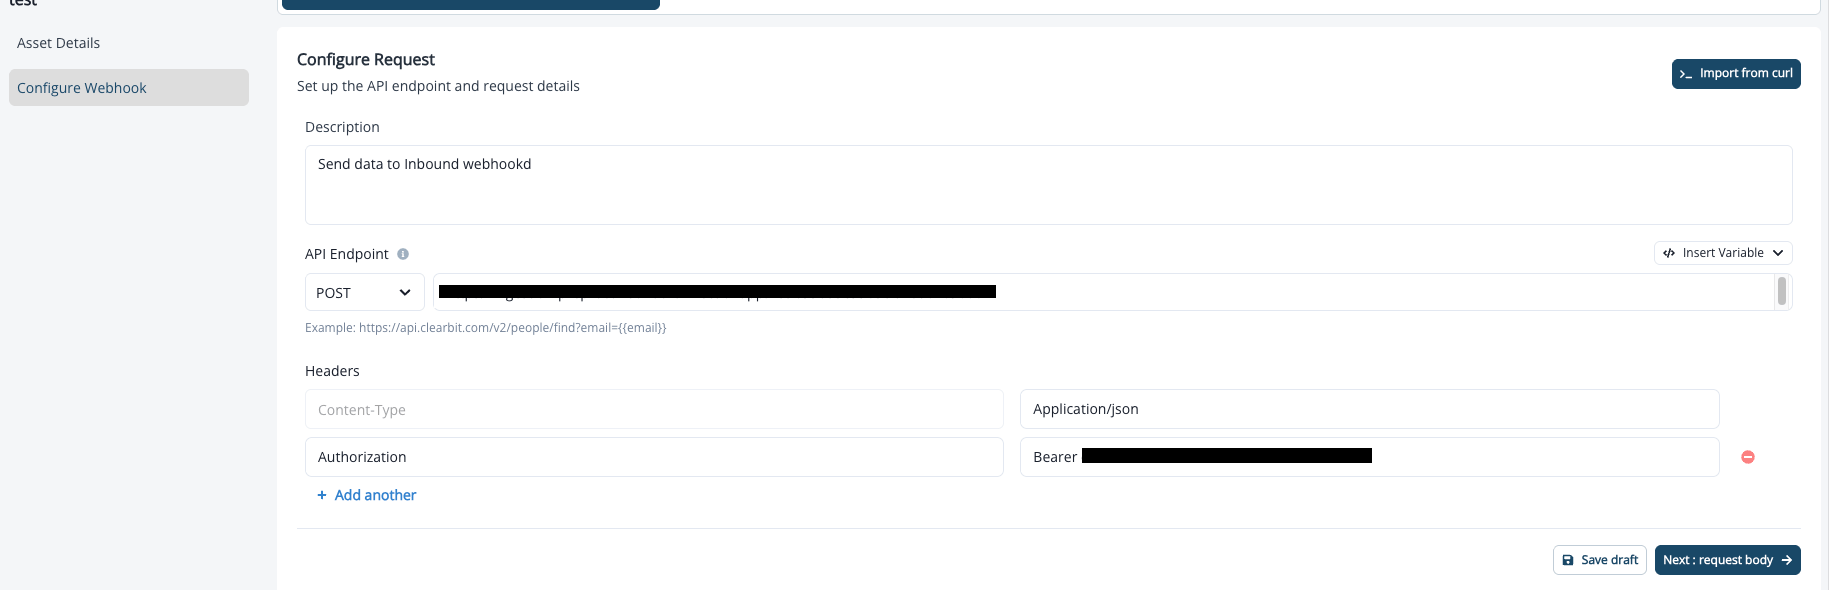
- Enter a name and description for the webhook.
- Select a request method (GET, POST, PUT, PATCH, DELETE, or HEAD).
- Enter the destination URL. Use the variable picker to insert fields directly into the URL if needed.
- Add any custom request headers. For example, to authenticate with an external service, add an Authorization header with a Bearer token.
-
Click Save Draft
Import From cURL
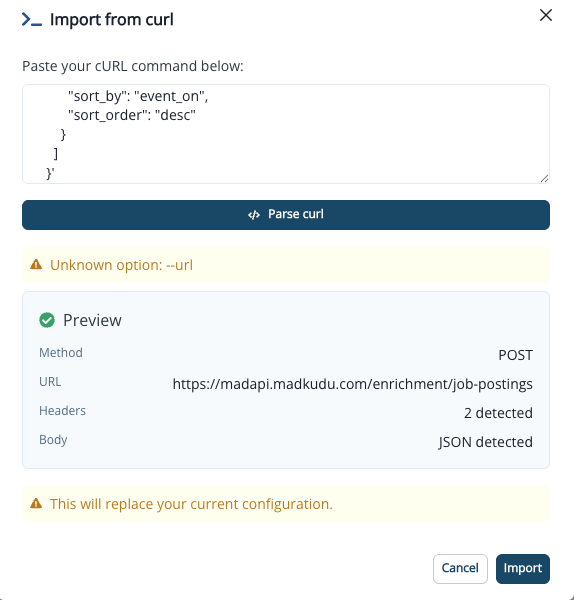
Instead of manually configuring a webhook, import a cURL command to auto-populate the method, URL, headers, and payload.- Click Import from cURL on the Configure tab.
- Paste a cURL command into the text area and click Parse.
-
Review the parsed preview showing the method, URL, headers, and body.
Configure the Request Body
Configure the Request Body
- Navigate to the Request Body tab.
-
Select a content type:
application/json,text/plain, orapplication/xml. -
Enter the request payload. Use the variable picker to insert contact variables.
For example, if you want to send email, first name, and last name to the endpoint, your request body would look something like this:
- Click Save Draft.
Test the Webhook
Test the Webhook
- Navigate to the Test tab.
- Search for a contact by email and select one from the dropdown. If applicable, select the org context for the contact.
-
Click Send Test Request. Contact variables in the URL and payload are replaced with the selected contact’s actual values before sending.
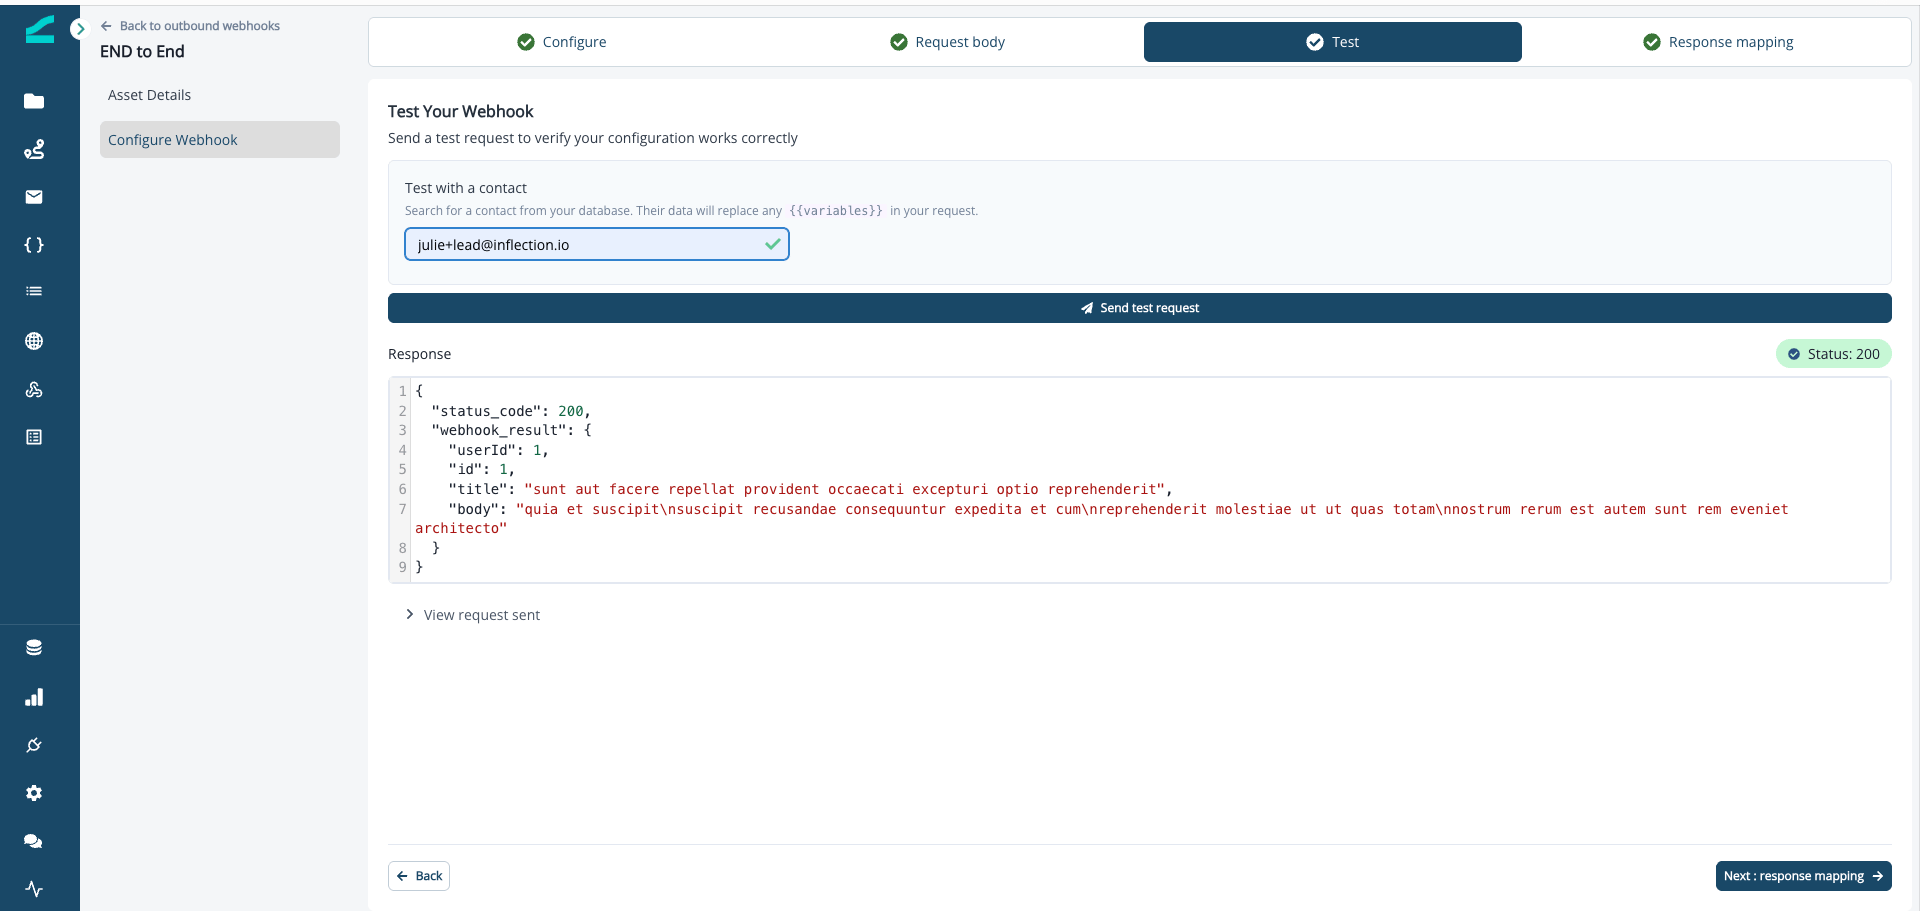
- Expand View request sent to review the exact URL, headers, and body that were sent.
Response mapping is optional. After a successful test, navigate back to the listing page if response mapping is not needed.
Set Up Response Mapping
Set Up Response Mapping
Response mapping allows webhook response data to automatically update contact properties in Inflection. After running a successful test, the response fields are available for mapping.
-
Navigate to the Response Mapping tab. Each field from the response appears as a row with its detected data type.
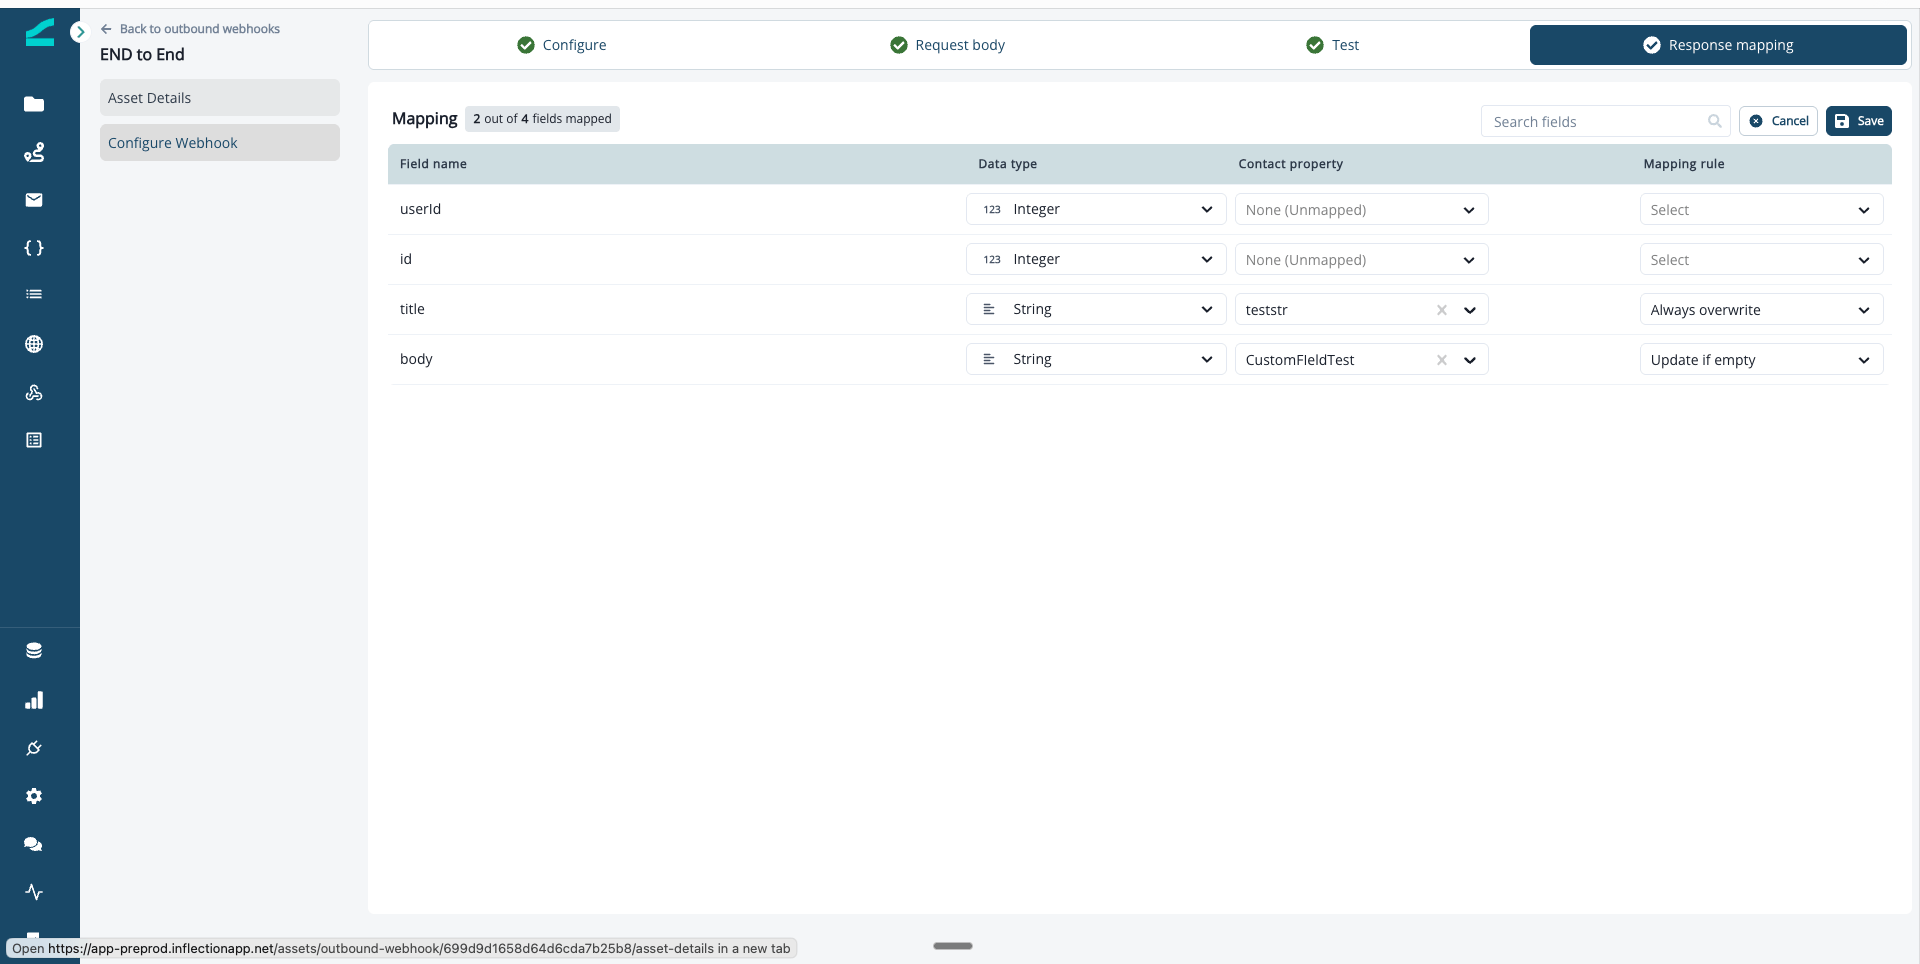
- Click Edit to enter edit mode.
- For each field to map, select a Contact Property from the dropdown. Only contact properties that match the field’s data type are shown.
-
Select a Mapping Rule for each mapped field:
- Update If Empty: Updates the contact property only if it currently has no value. This is the default.
- Always Overwrite: Updates the contact property every time, regardless of its current value.
- Click Save.
Each contact property can only be mapped to one response field. The stats badge at the top shows how many fields are mapped out of the total.
Use a Webhook in a Journey
Use a Webhook in a Journey
Add an outbound webhook as a step in any journey to send data to external systems as contacts flow through the journey.
- Open a journey in the flow builder.
- Add a Run Outbound Webhook step to the flow.
- Click the webhook step and select a webhook from the list.
- Save the journey.
When the journey runs, each contact that reaches the webhook step triggers the configured HTTP request. Fields in the URL and payload are replaced with each contact’s actual values.
If response mapping is configured, contact properties are updated according to the mapping rules as each webhook call completes.