

Export Inflection Data to Redshift
For information on tables and schemas that Inflection exports to Redshift, please read thisSet up Export to Redshift in Inflection
Set up Export to Redshift in Inflection
These steps need to be run by someone with access to
-
Go to Connections → Data Connections, then click Add new connection.
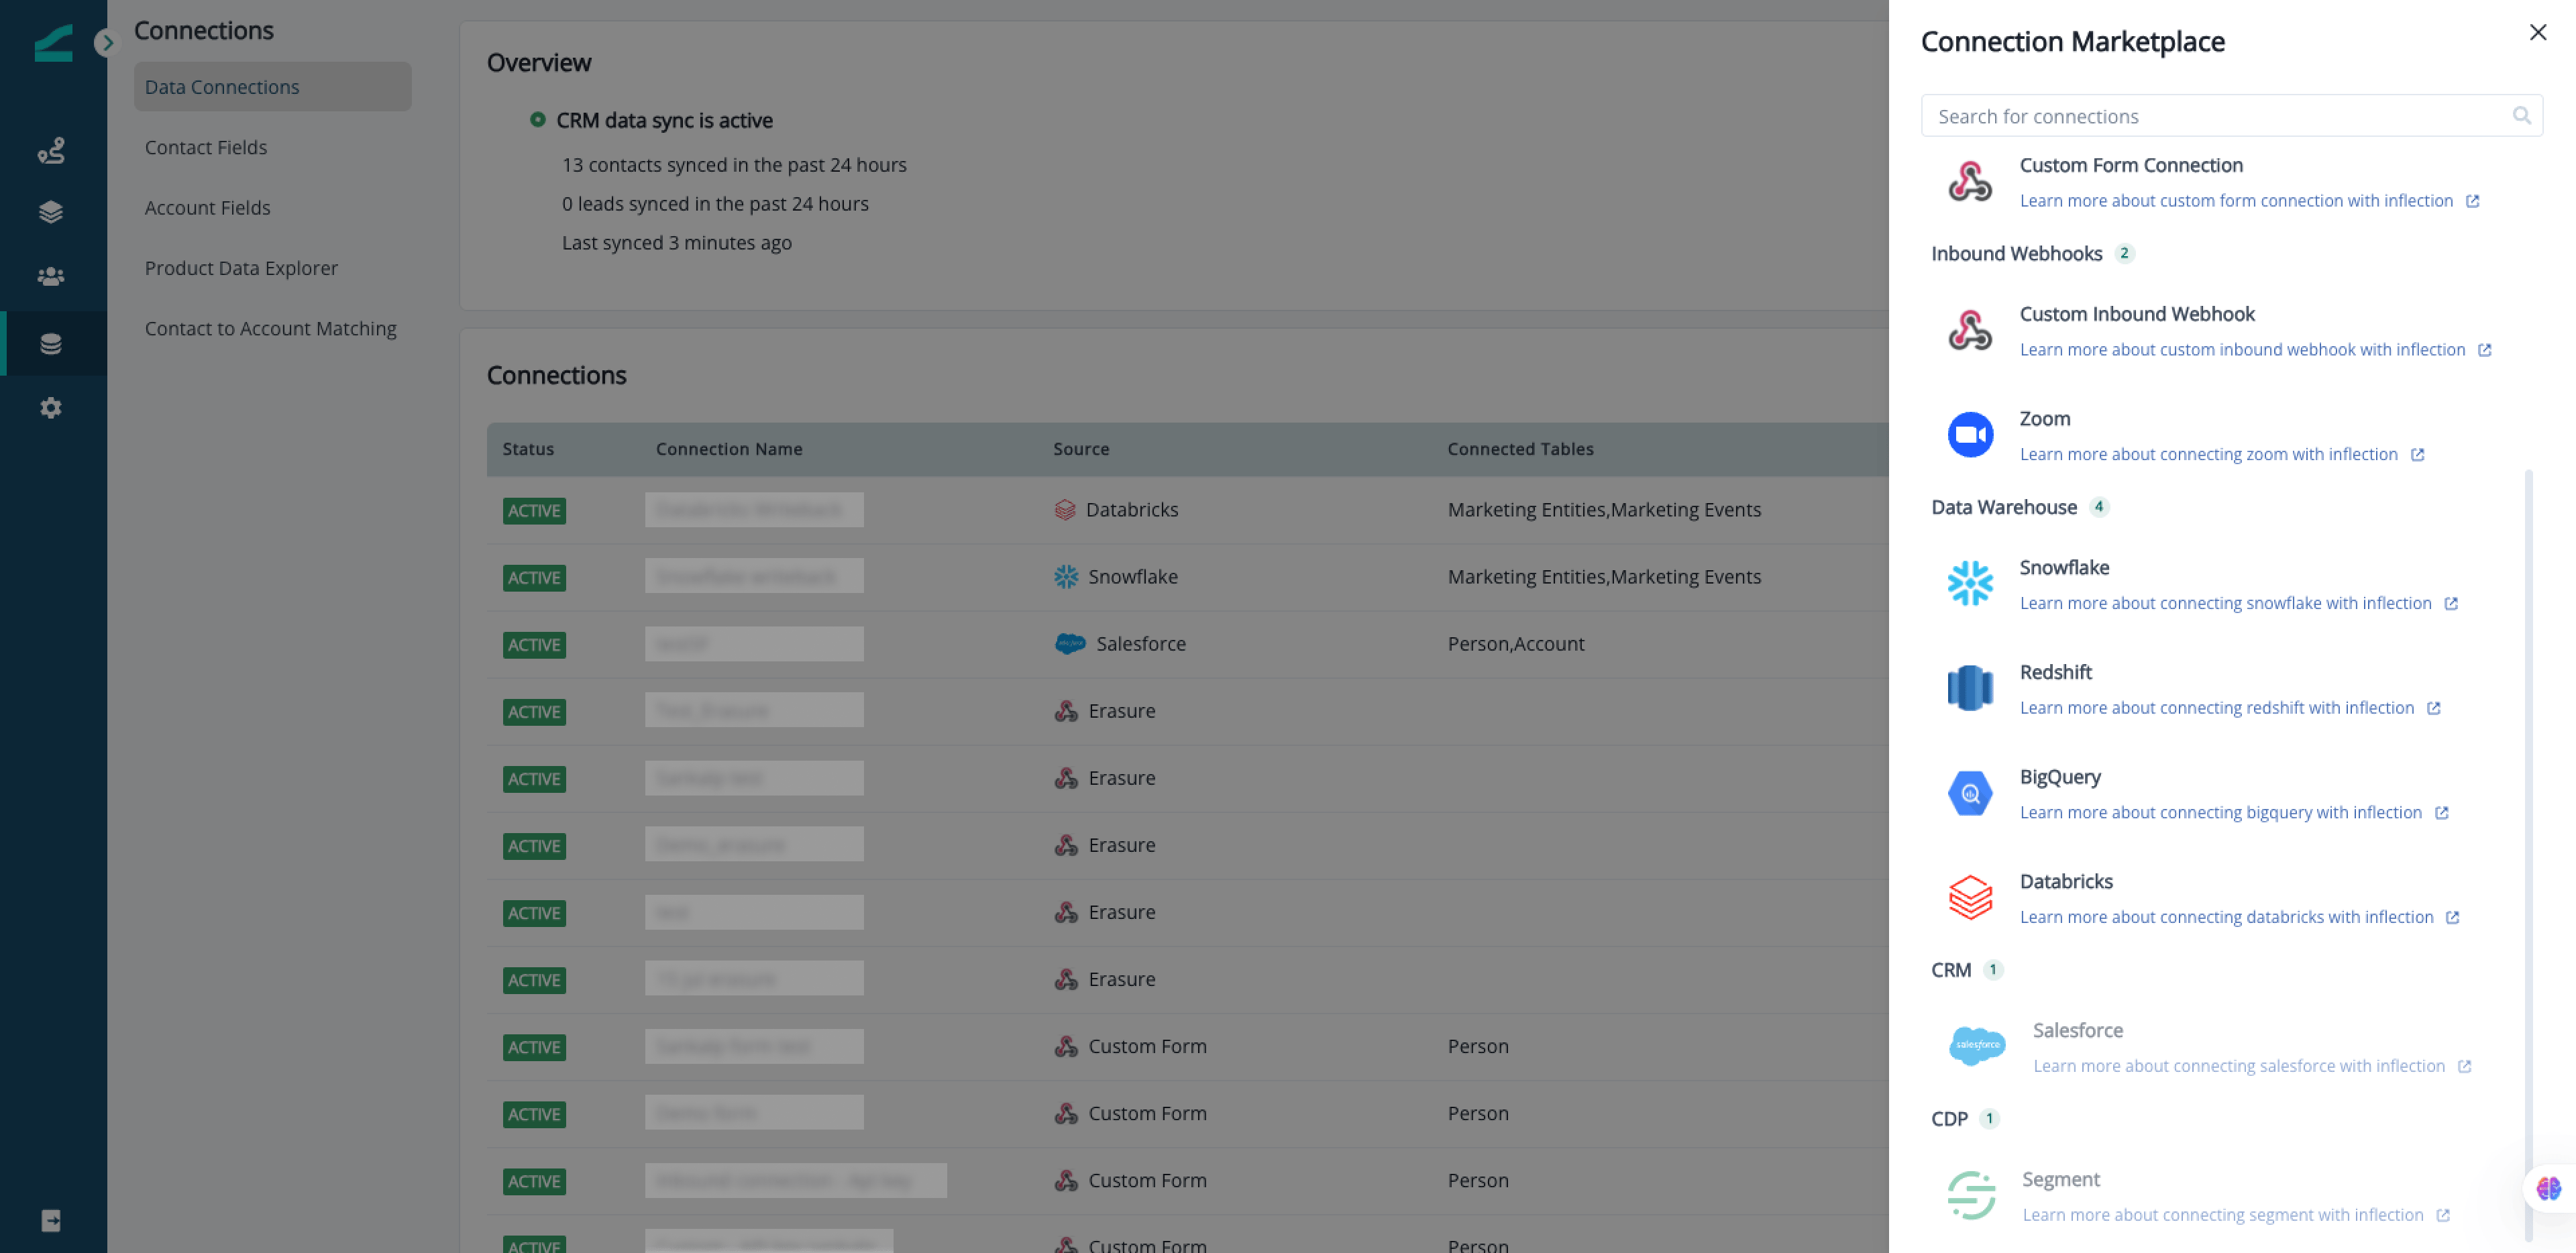
- Choose your platform: Select Redshift as your destination platform.
-
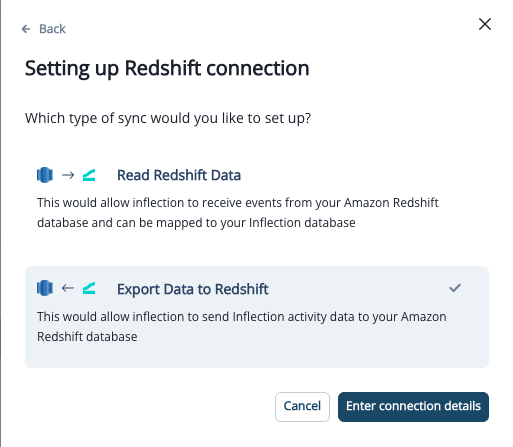
Select connection type: Choose Export Data to Redshift.
-
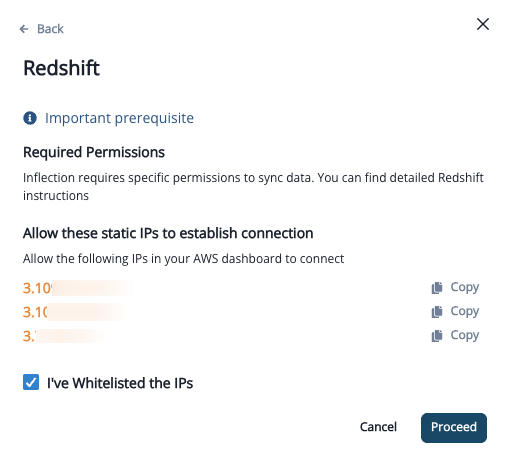
Whitelist IPs
For Redshift connection, you need to whitelist given IPs in your AWS dashboard before proceeding to setup page
-
Enter your Redshift credentials
Give a name for your data warehouse connection and fill in your credentials.
- Account name - a human-friendly name for this connection
- Username, password - service account credentials for redshift
- Database, schema and port - name of the database, schema and port to be used by Inflection.
- Click Create Connection to set up the connection. Note that syncing will NOT BEGIN and connection will be in INACTIVE state until the credentials and destination tables are validated by your Inflection team.
Set up Redshift to accept Inflection Data
Set up Redshift to accept Inflection Data
We provide a custom SQL script tailored to your configuration. You’ll need to run this script to create the export tables in your DW.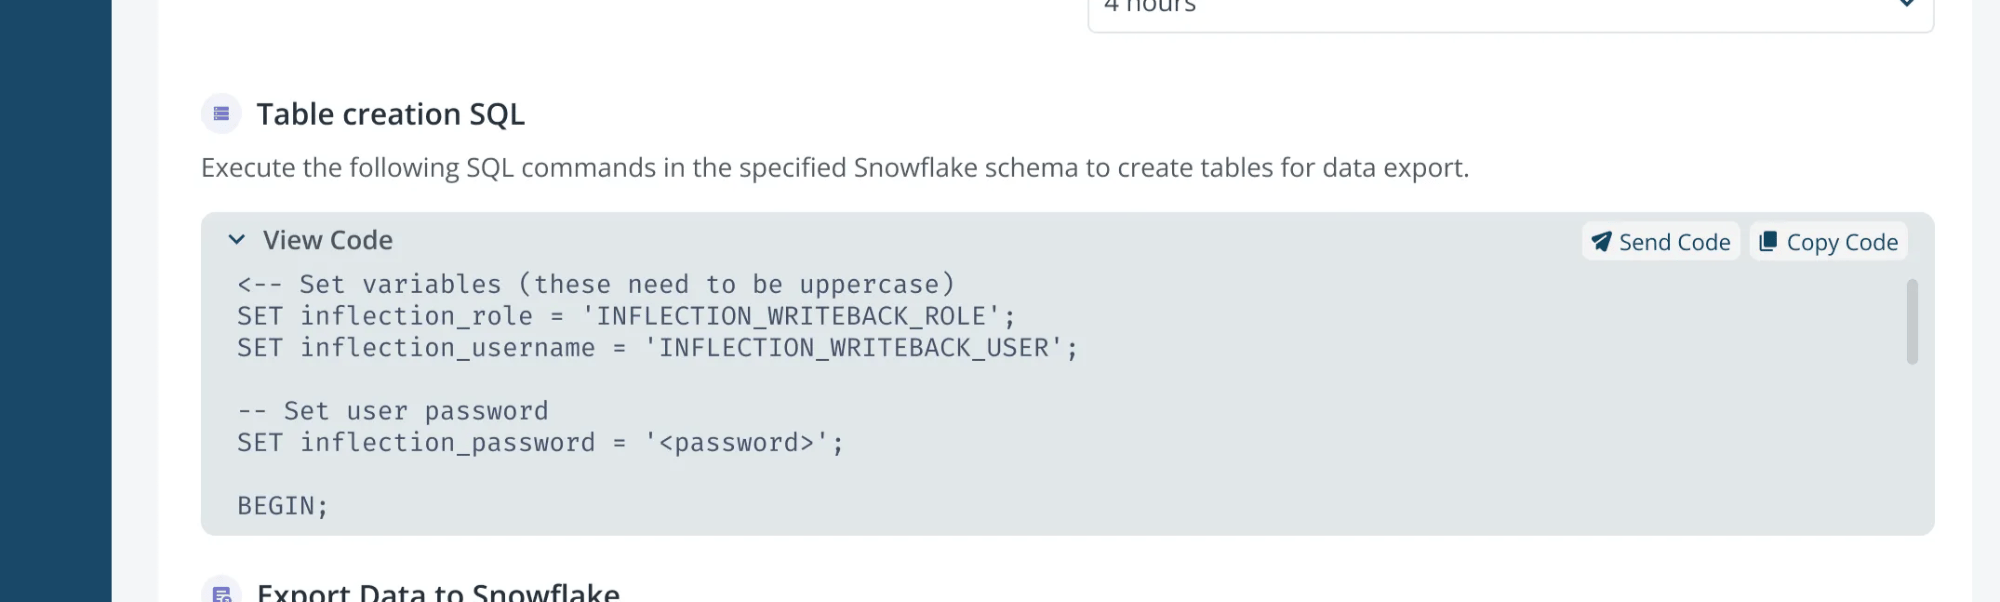
Submit Setup for Activation
Submit Setup for Activation
Once your credentials are saved and your data team has created the required tables in your warehouse, your setup is complete.At this point:
- Inflection’s team will validate the setup and activate the sync for you.
- No additional steps are required from your side.
- Optionally, you may test or delete the connection at this stage
- You will be notified once the sync has started and data is being sent.
Activation may take up to two business days. Please ensure your data team notifies you once your tables are set up in your data warehouse.
Import Product Activity from Redshift to Inflection
For information on generic import guidelines, please read thisSet up Inflection to read from Redshift
Set up Inflection to read from Redshift
-
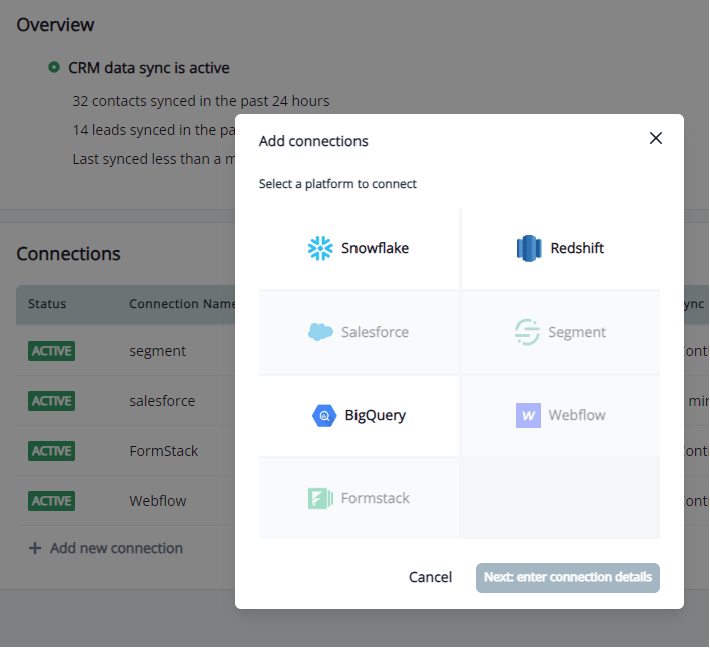
In the Inflection UI, select Connections on the left sidebar > “Data Connections” > “Add new Connection”. Select Redshift to enter connection details and proceed with the setup workflow.
-
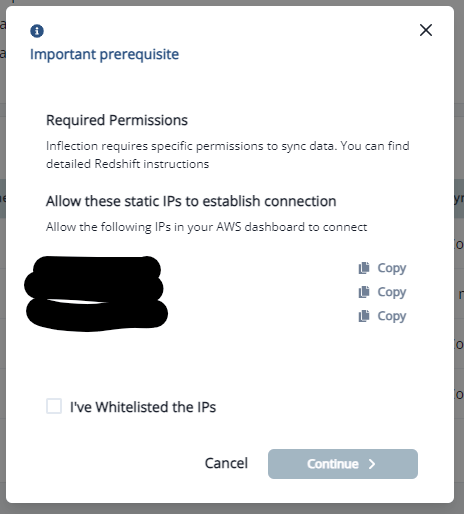
Copy the IPs to whitelist in your AWS dashboard. Select “I’ve Whitelisted the IPs” once you have completed that step.
-
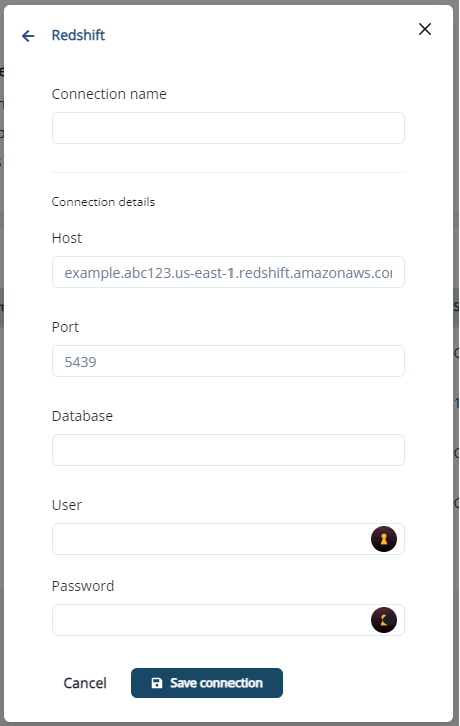
Name your connection in the Connection name field, add your Redshift connection details, and save the connection:
- Host
- Port
- Database
- User
- Password
Set up Redshift to allow Inflection reads
Set up Redshift to allow Inflection reads
We need specific permissions to be granted for Redshift sync to work:
- Create a user to be used by inflection to read and export data. This user should be created with password (Ref: https://docs.aws.amazon.com/redshift/latest/dg/r_CREATE_USER.html)
-
Inflection needs an
inflectionschema to maintain state. Customers can do one of two things for this:-
Create a schema named
inflectionwithin the database that is being connected and then grant all privileges to that schema. -
Grant schema create permission for Inflection to automatically do above
-
Create a schema named
- Grant usage access to the schema being connected to the new user
- Grant select privilege on the specific tables being connected or to all the tables in the schema
- Make sure to Whitelist the IPs given from the UI
-
Use the hostname and port from
endpointdetails in the redshift cluster details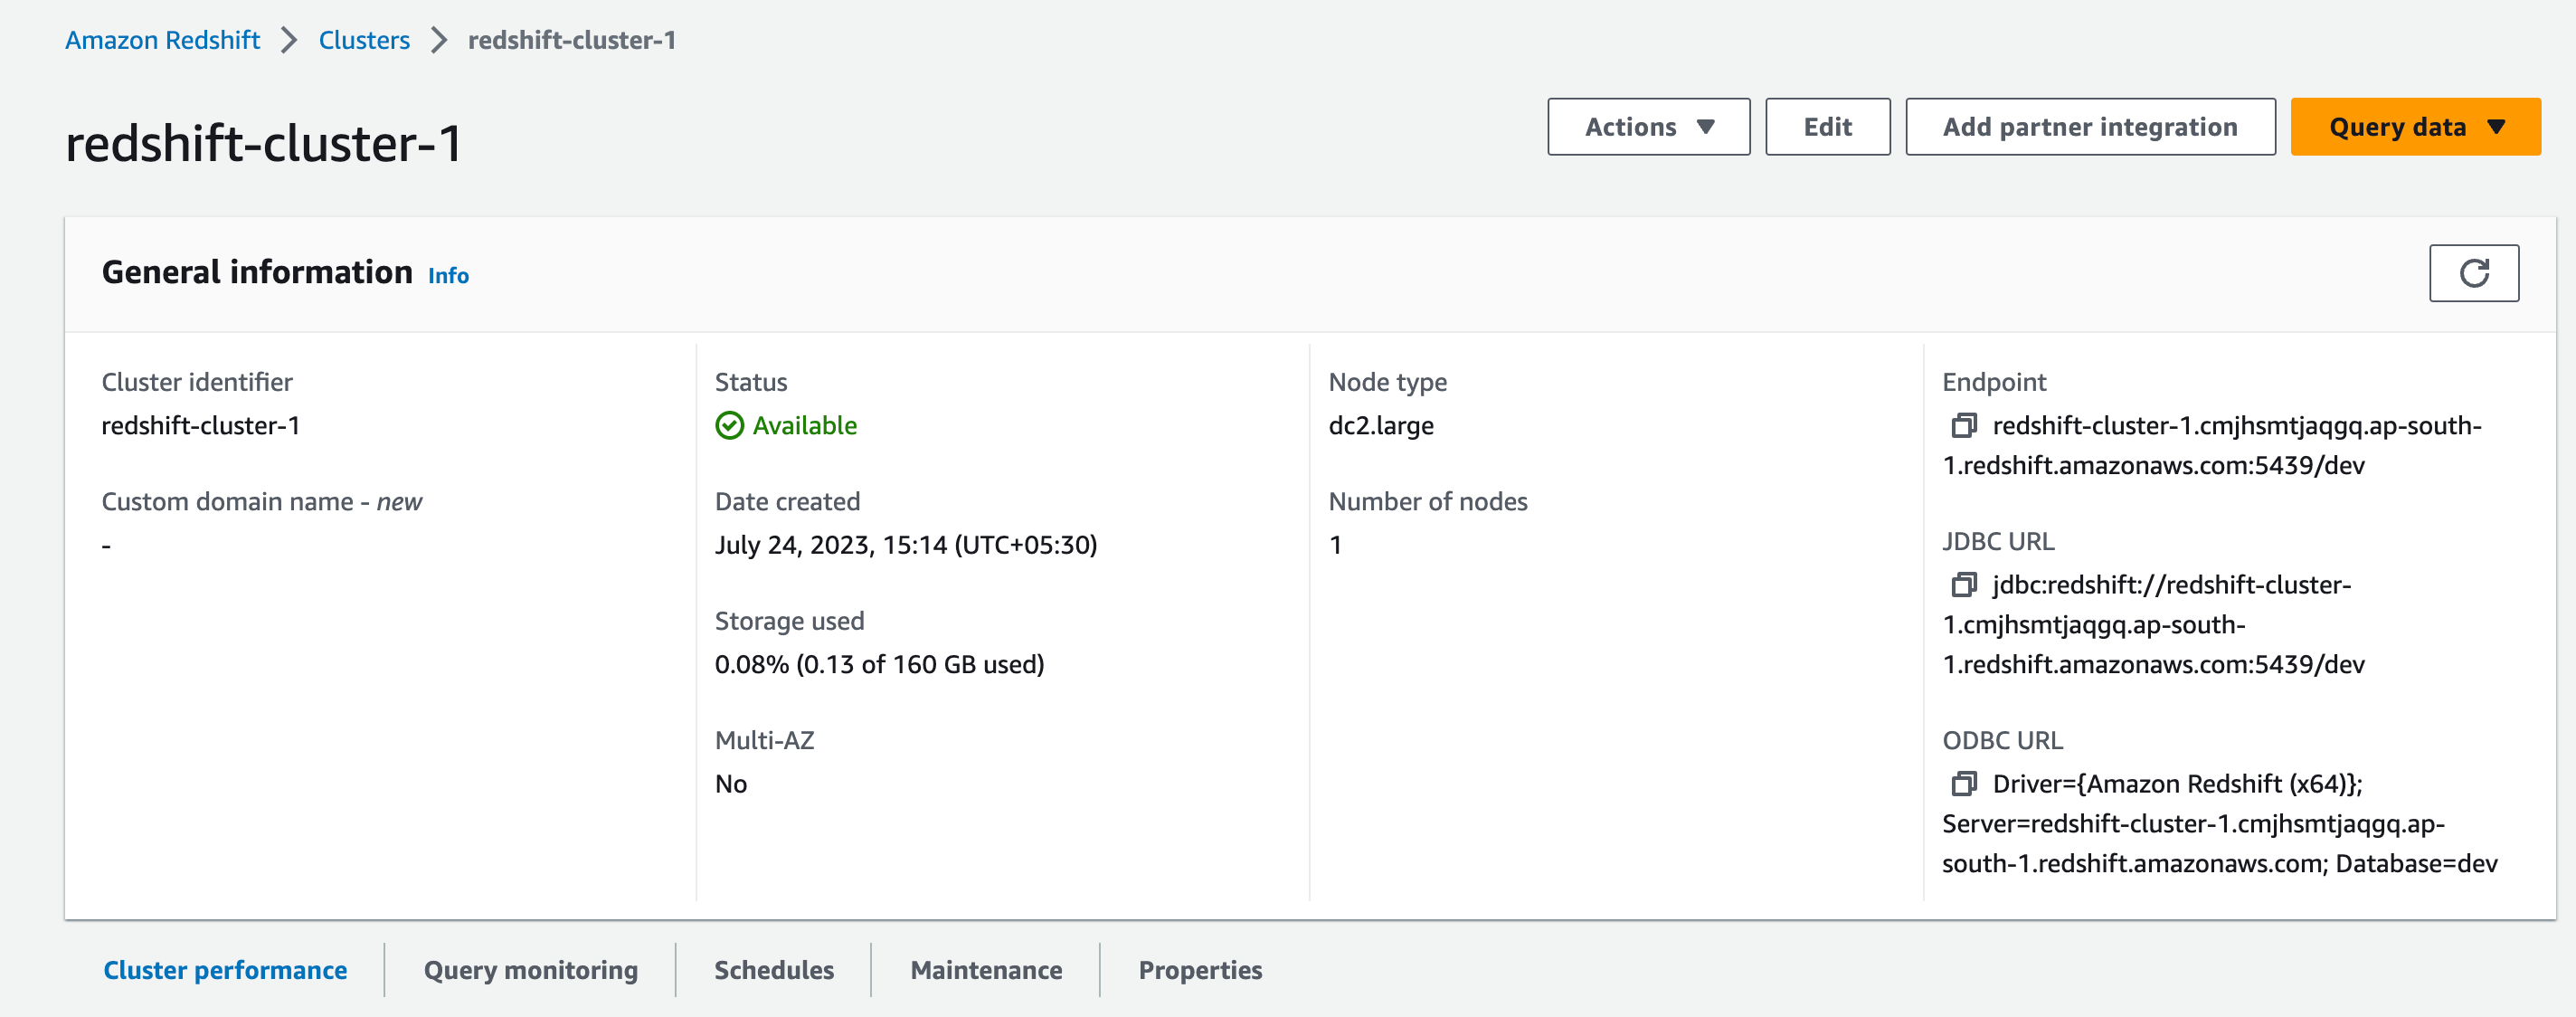
- Here, the hostname would be
redshift-cluster-1.cmjhsmtjaqgq.ap-south-1.redshift.amazonaws.comand the port would be5439 - Use the username and password for the user that was created for the connection
- Here, the hostname would be